Hitting plan limits
The Billing page shows your current plan, tracks live consumption against each of your plan’s caps, and lets you upgrade or manage your subscription — all in one place.
Getting there
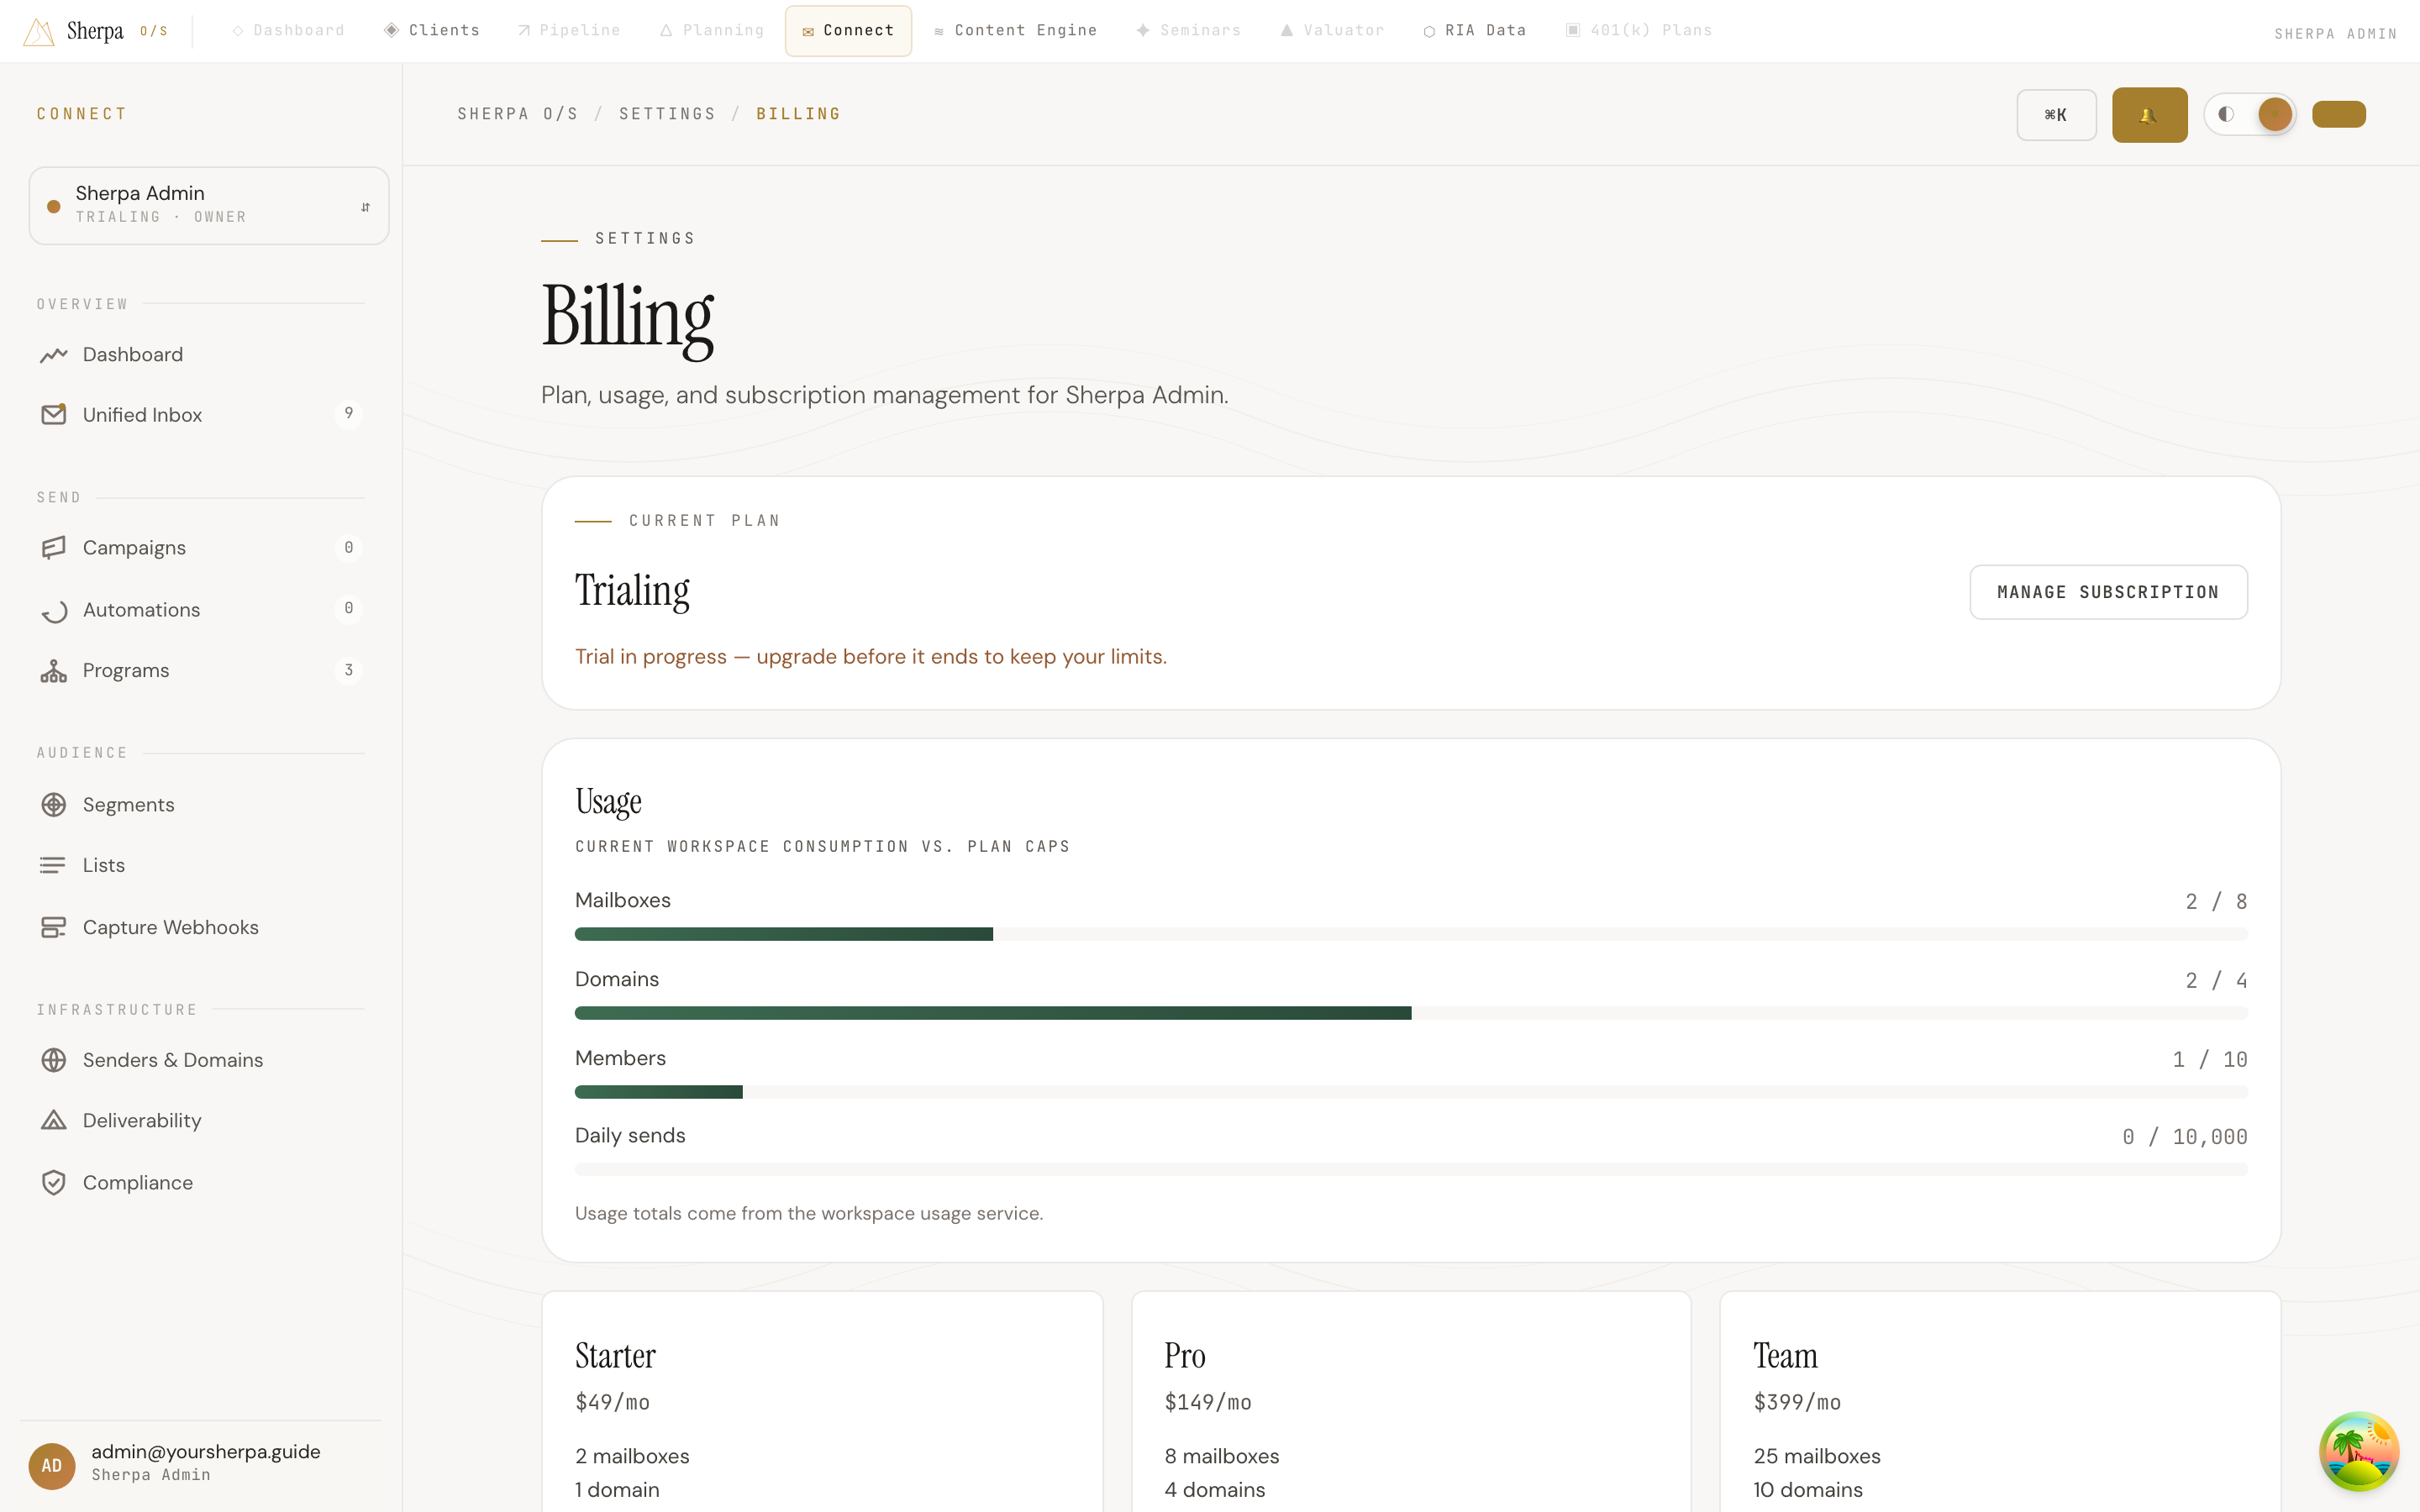
Section titled “Getting there”Go to Settings → Billing in the left navigation. You will land on the Billing page, which is labelled “Plan, usage, and subscription management” for your workspace.
What you can do
Section titled “What you can do”Check your current plan and usage
Section titled “Check your current plan and usage”The top panel shows your Current plan — Starter, Pro, Team, or Trial. If you are still in a trial, you will see a notice that reads “Trial in progress — upgrade before it ends to keep your limits.”
Below that, the Usage panel displays four progress bars, one for each resource your plan governs:
- Mailboxes — sending identities connected in Connect.
- Domains — sending domains verified for DKIM.
- Members — team seats in your workspace.
- Daily sends — outbound emails that can go out in a single calendar day across all campaigns and automations.
Each bar shows how much you have used against your plan cap (for example, “3 / 8”). The bar turns amber when you are above 80 % of a cap, and red when you have reached or exceeded it. If you hit the limit, Connect will block further sending or provisioning of that resource until you upgrade.
Understand what each plan includes
Section titled “Understand what each plan includes”Three tier cards — Starter ($49/mo), Pro ($149/mo), and Team ($399/mo) — are displayed side by side. Each card lists the cap for mailboxes, domains, members, and daily sends for that tier, and whether the warmup engine is included. Your active plan card is labelled “Current plan” and its upgrade button is disabled.
| Starter | Pro | Team | |
|---|---|---|---|
| Mailboxes | 2 | 8 | 25 |
| Domains | 1 | 4 | 10 |
| Members | 3 | 10 | Unlimited |
| Daily sends | 1,000 | 10,000 | 50,000 |
| Warmup engine | No | Yes | Yes |
Upgrade your plan
Section titled “Upgrade your plan”- Identify the tier that covers your needs using the cards above.
- Click Upgrade to [tier name] on that card. You will be redirected to Stripe to complete the purchase.
- After a successful checkout, Sherpa returns you to the Billing page and your new limits take effect immediately.
You must have the billing:manage permission to upgrade. If you do not see the upgrade button and instead see “Contact an admin to change plans,” ask your workspace admin to make the change.
Manage an existing subscription
Section titled “Manage an existing subscription”If you need to update a payment method, view invoices, or cancel, click Manage subscription in the top panel. This opens the Stripe customer portal. When you are finished, Stripe returns you to the Billing page.