Setting up your account
The sign-up screen is the starting point for every new Sherpa user. It lets you create a personal account and name the workspace where your team’s Connect, Content Engine, Clients, and RIA Data data will live.
Getting there
Section titled “Getting there”Navigate to the Sherpa login page and select Sign up (or go directly to the sign-up URL). You do not need an existing account — this screen is the entry point.
What you can do
Section titled “What you can do”Create a new account and workspace
Section titled “Create a new account and workspace”The sign-up form collects three pieces of information:
- Work email — enter the email address you want associated with your Sherpa account.
- Password — choose a password of at least 12 characters.
- Workspace name — give your workspace a name (for example, Acme Co). This is how Sherpa identifies your firm throughout the product.
Once all three fields are filled in, click Create workspace. Sherpa creates your account and your first workspace in one step, then takes you to the dashboard.
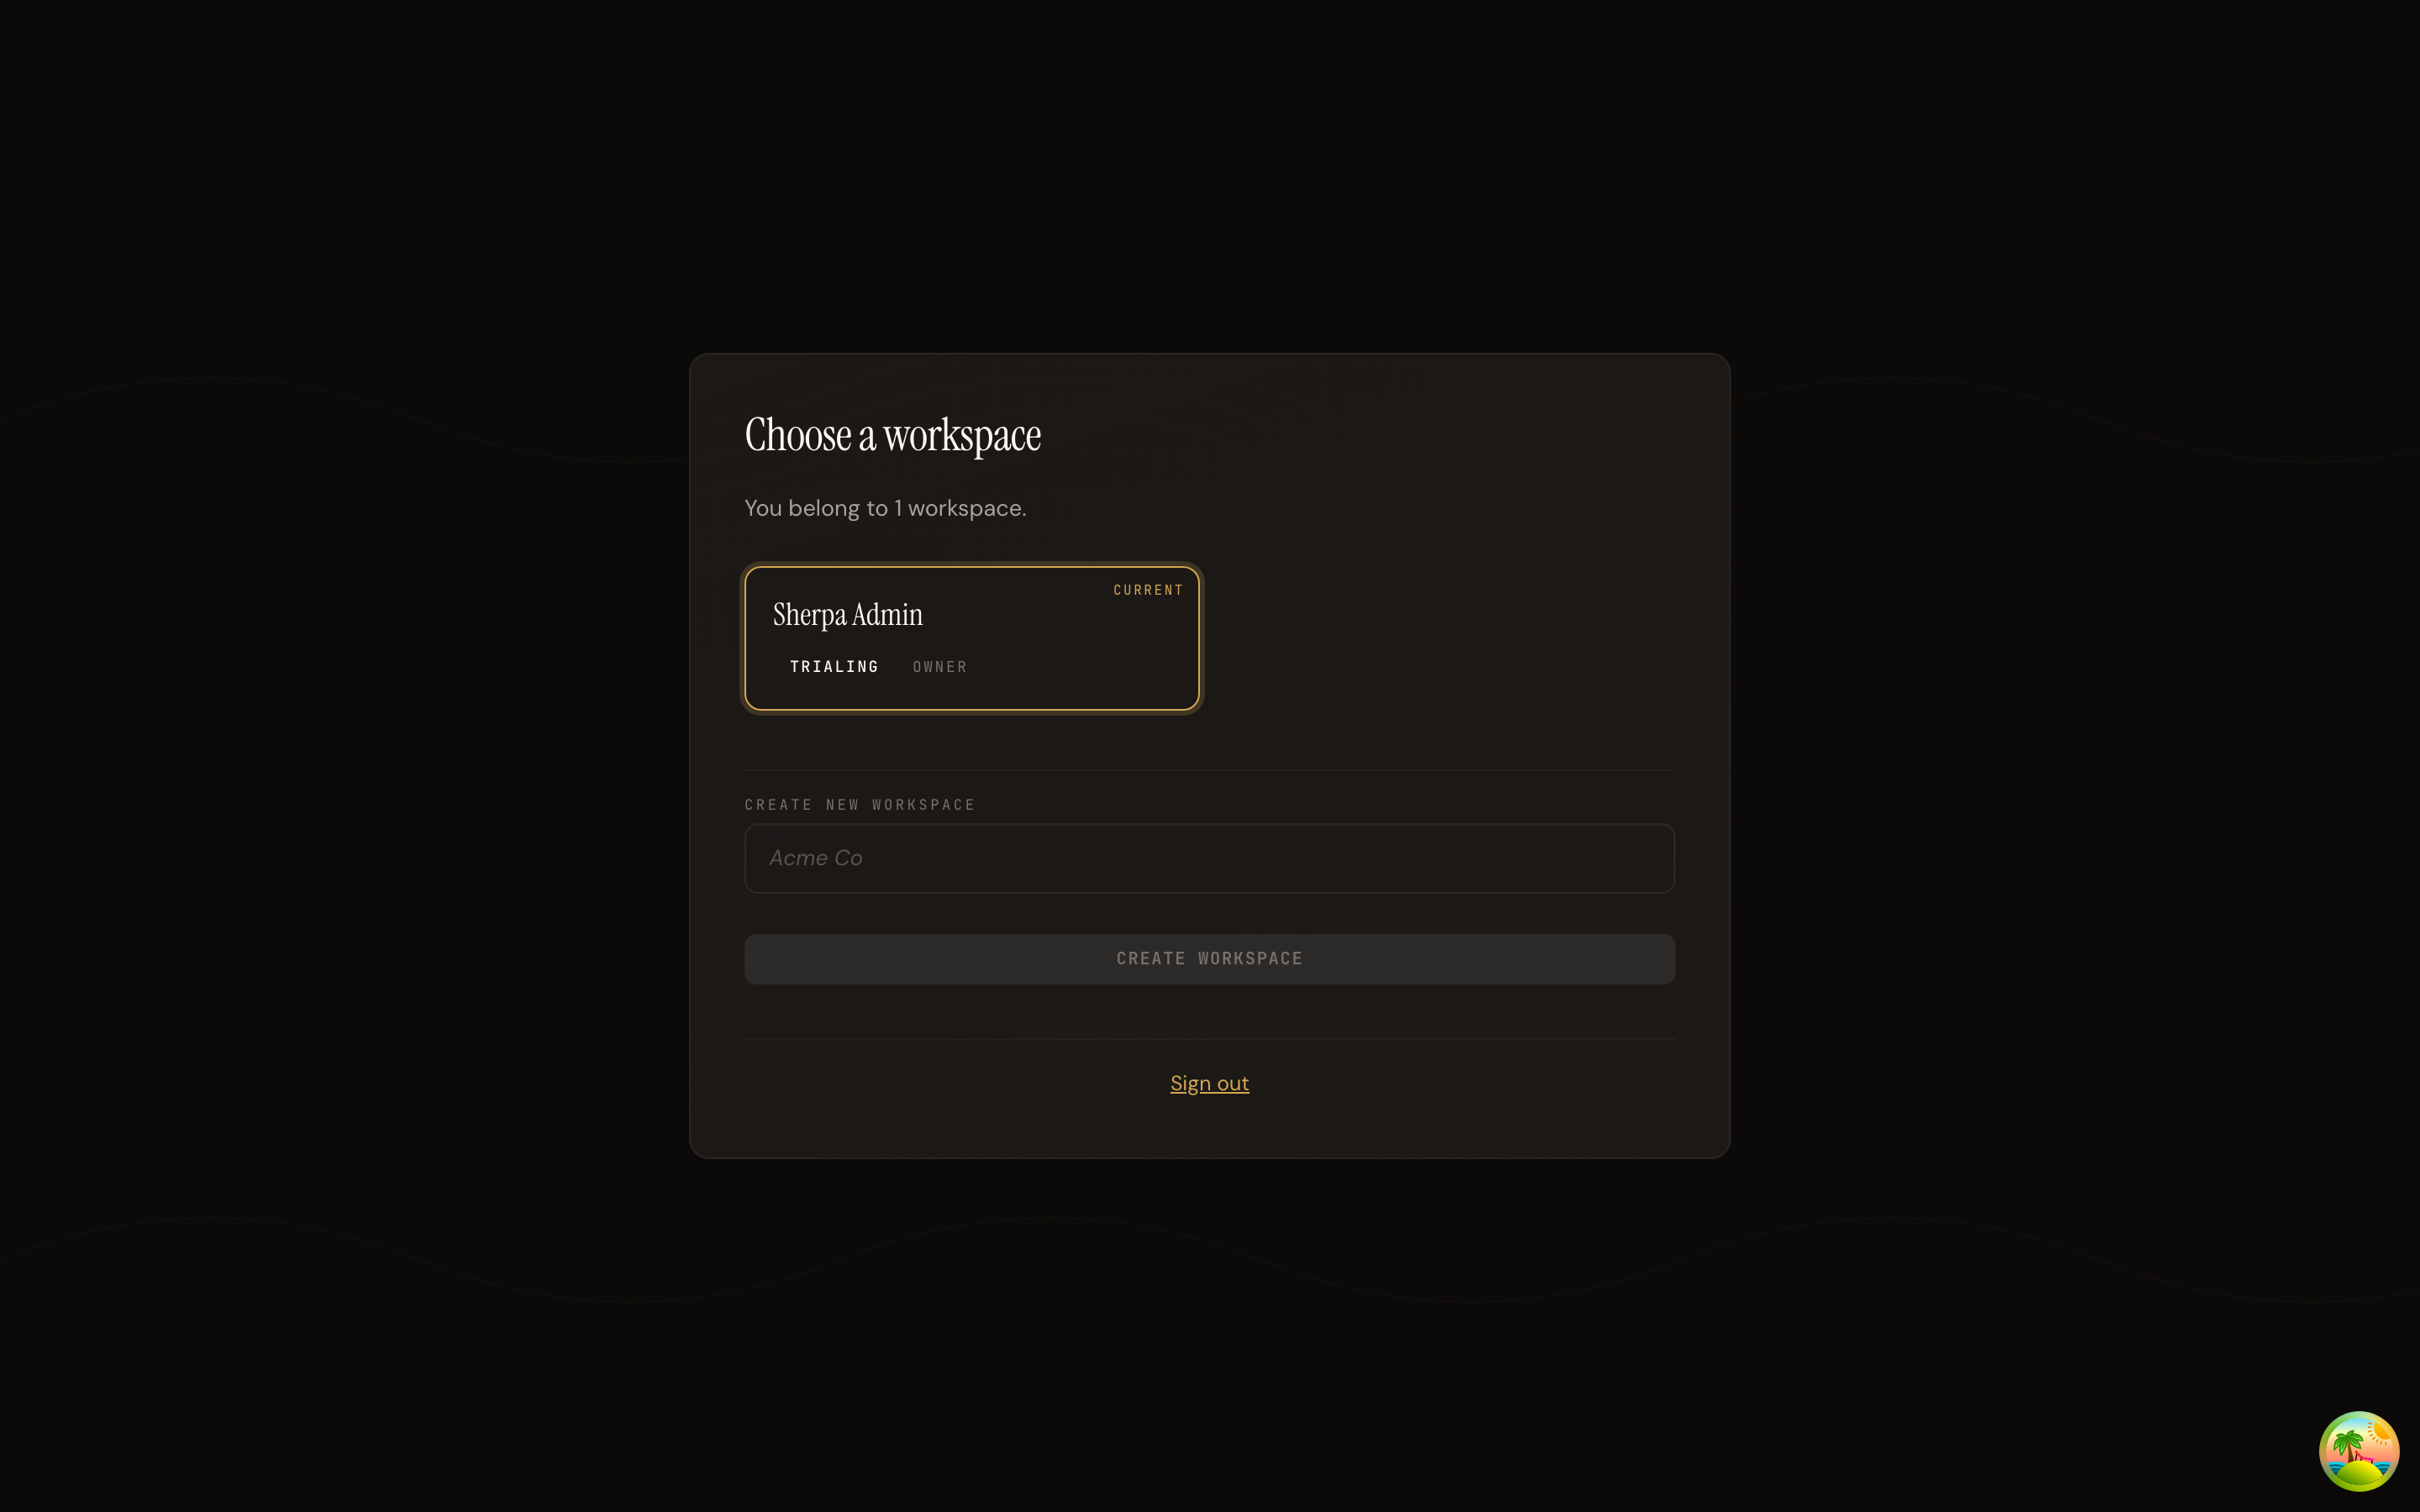
Choose or create an additional workspace
Section titled “Choose or create an additional workspace”If your account is already linked to one or more workspaces — for example, you were invited to a second firm — you will land on the Choose a workspace screen after signing in. Each workspace card shows the workspace name, its plan status, and your role within it. Click a card to switch into that workspace.
To add a brand-new workspace from this screen, type a name in the Create new workspace field and click Create workspace.
Verify your email
Section titled “Verify your email”After sign-up, Sherpa sends a verification link to the work email you provided. Open the email and click the link. Sherpa confirms the verification automatically and shows an Email verified — You’re all set message, then offers a Continue to dashboard button. If the link has expired, follow the instructions shown on screen to request a new one.