Compliance
The Compliance screen gives you a single place to see every compliance-relevant email event, manage suppression lists, and verify whether a contact can receive your campaigns. It is designed around SEC 17a-4 and CAN-SPAM requirements so your sending stays clean without manual overhead.
Getting there
Section titled “Getting there”In Connect, open Infrastructure in the left navigation and select Compliance.
What you can do
Section titled “What you can do”Review the compliance stats
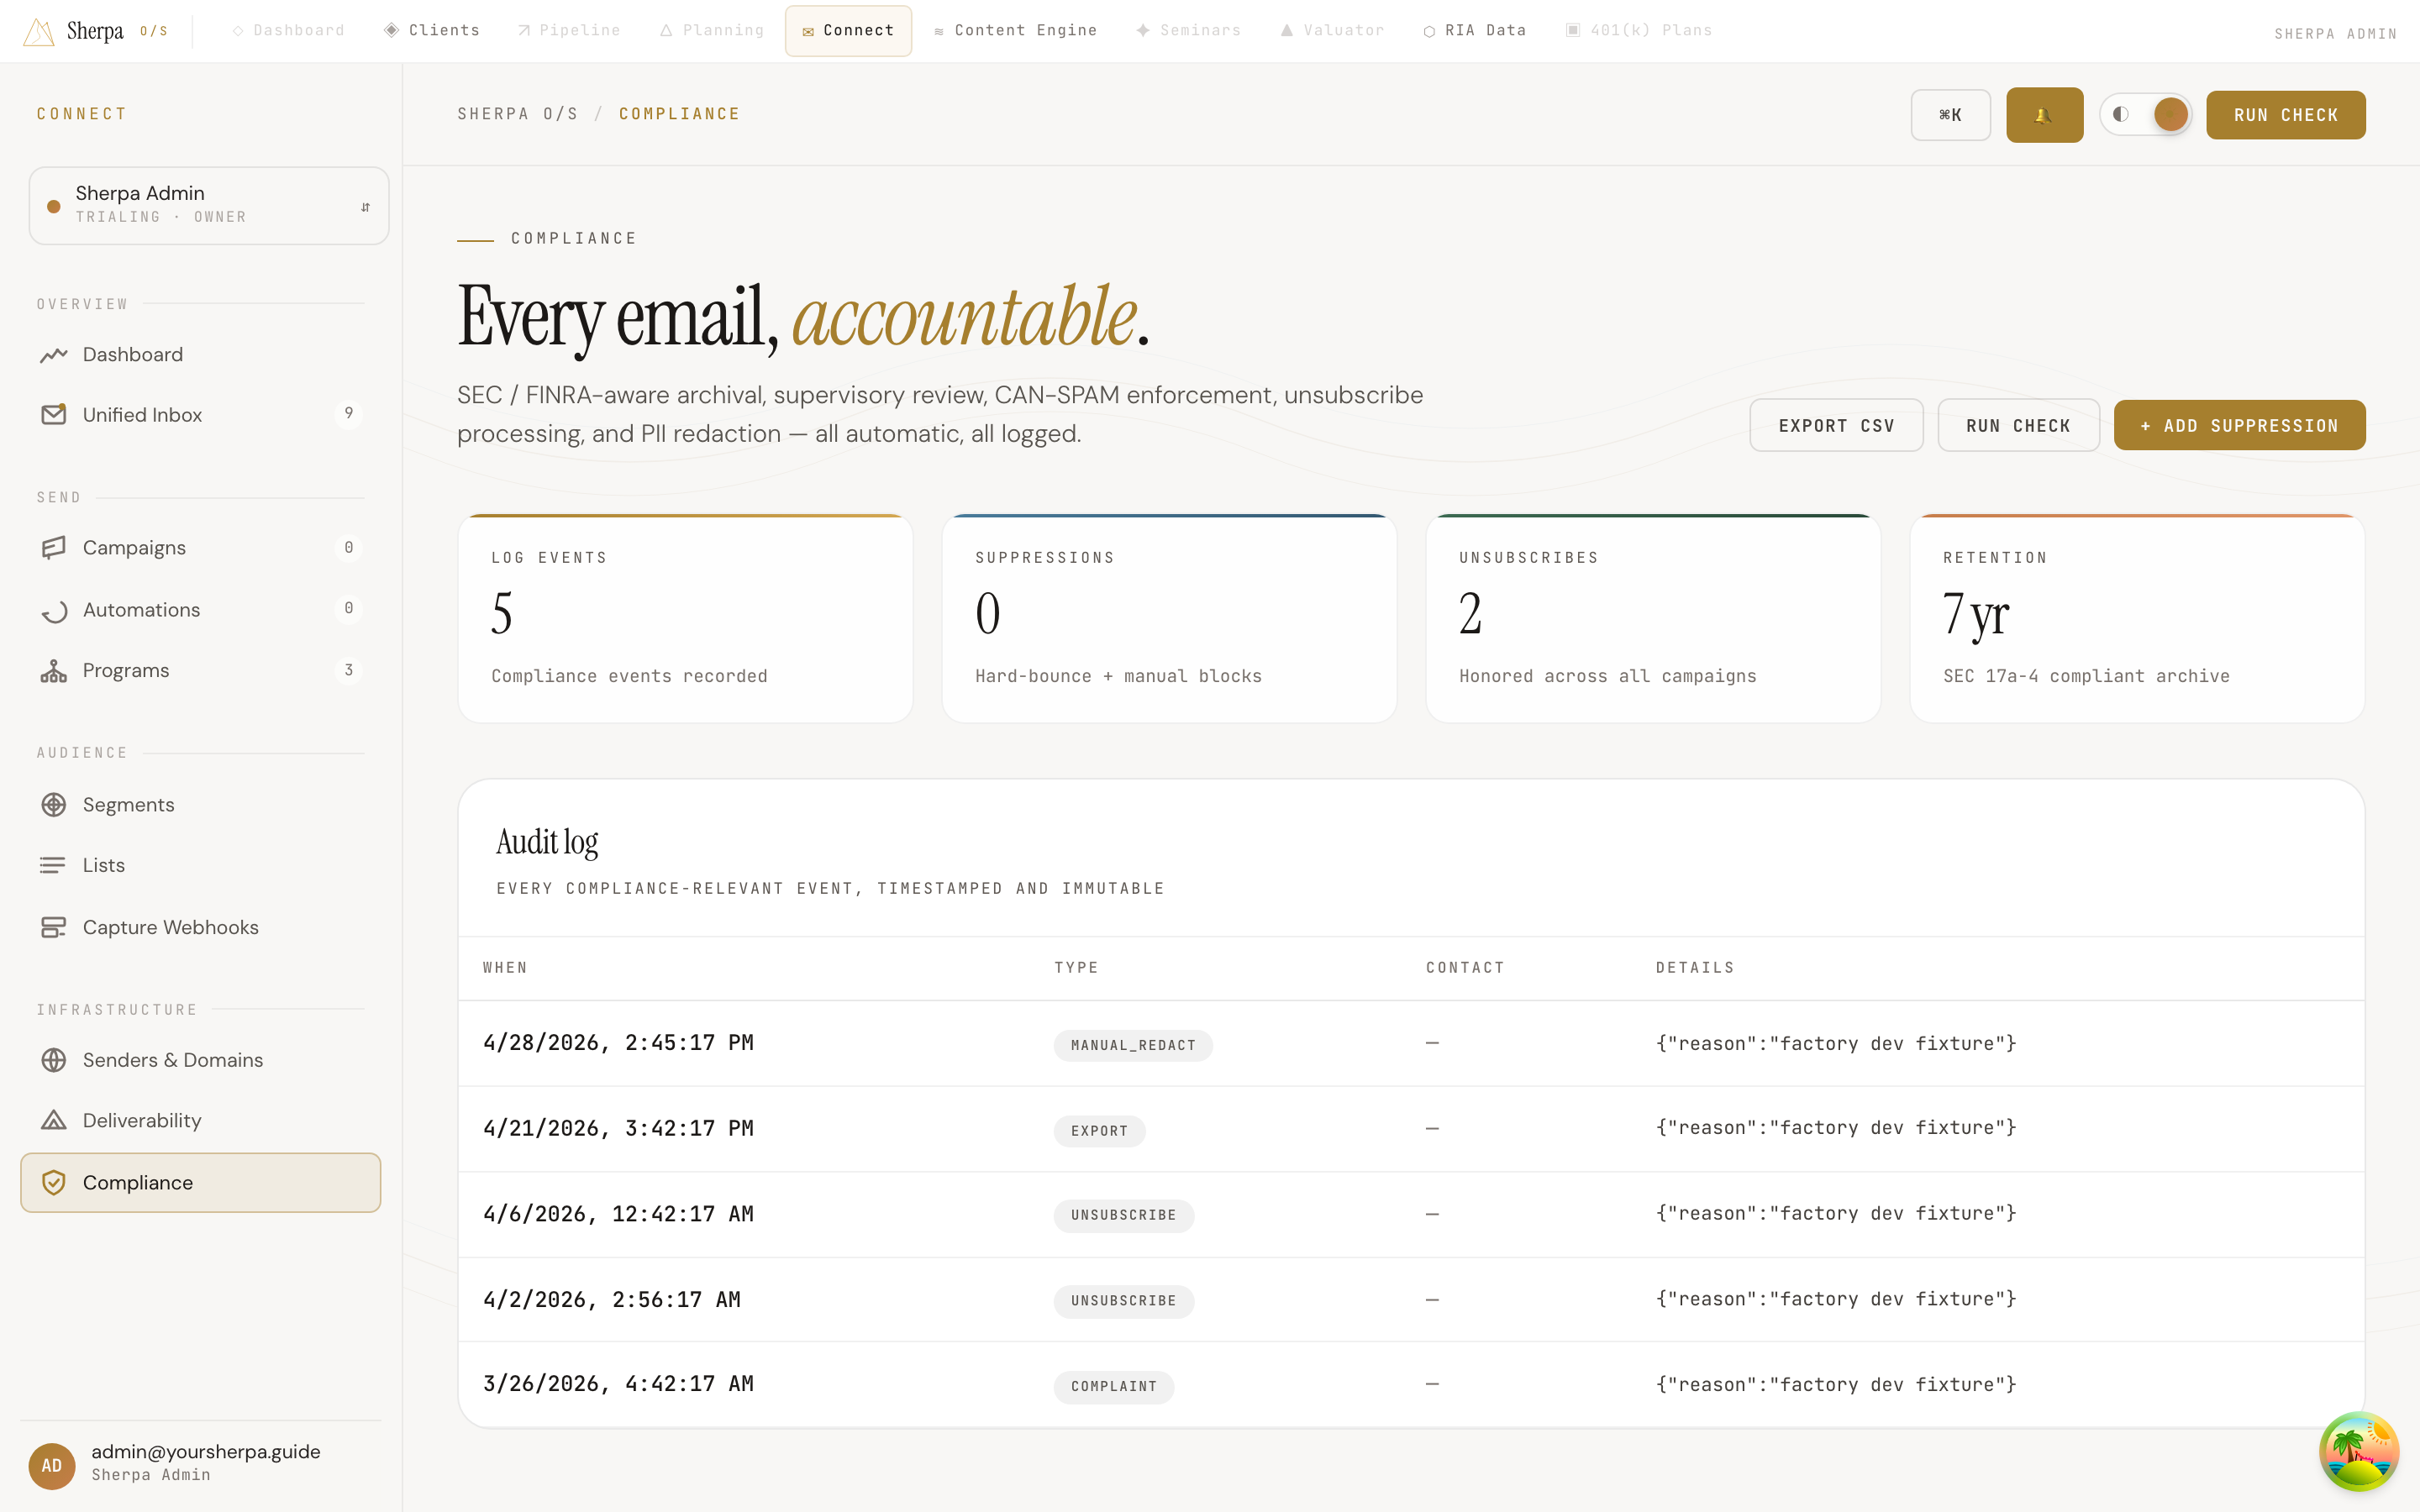
Section titled “Review the compliance stats”At the top of the screen, four tiles give you an at-a-glance summary:
- Log events — total compliance events recorded.
- Suppressions — contacts blocked from receiving email (hard bounces and manual suppressions combined).
- Unsubscribes — opt-outs honored across all campaigns.
- Retention — your archive window, set to 7 years in line with the SEC 17a-4 standard.
Read the audit log
Section titled “Read the audit log”The Audit log panel lists every compliance event in reverse-chronological order. Each row shows:
| Column | What it contains |
|---|---|
| When | Timestamp of the event |
| Type | Event category (for example, unsubscribe or suppression) |
| Contact | The contact record associated with the event |
| Details | Structured event metadata |
If the log is long, click Load more at the bottom of the panel to page through older records. The log is immutable — entries cannot be edited or deleted.
To download the full log as a spreadsheet, click Export CSV in the top-right corner (requires the compliance:export permission).
Check whether a contact is suppressed
Section titled “Check whether a contact is suppressed”- Click Run check in the top-right corner.
- Enter the contact’s email address in the Email to check field.
- Click Run check. A green chip labelled Not suppressed or a copper chip labelled Suppressed appears immediately next to the button.
Use this before troubleshooting a delivery issue to confirm whether a contact is blocked at the compliance layer.
Add a manual suppression
Section titled “Add a manual suppression”- Click + Add suppression in the top-right corner.
- Enter the contact’s email address in the Contact email field (required).
- Optionally enter a short note in the Reason field (up to 200 characters).
- Click Add suppression. The form closes and the new event appears in the audit log.
Manual suppressions behave the same as hard-bounce suppressions — the address will not receive any campaign or automation email going forward.