Connecting your sending domain
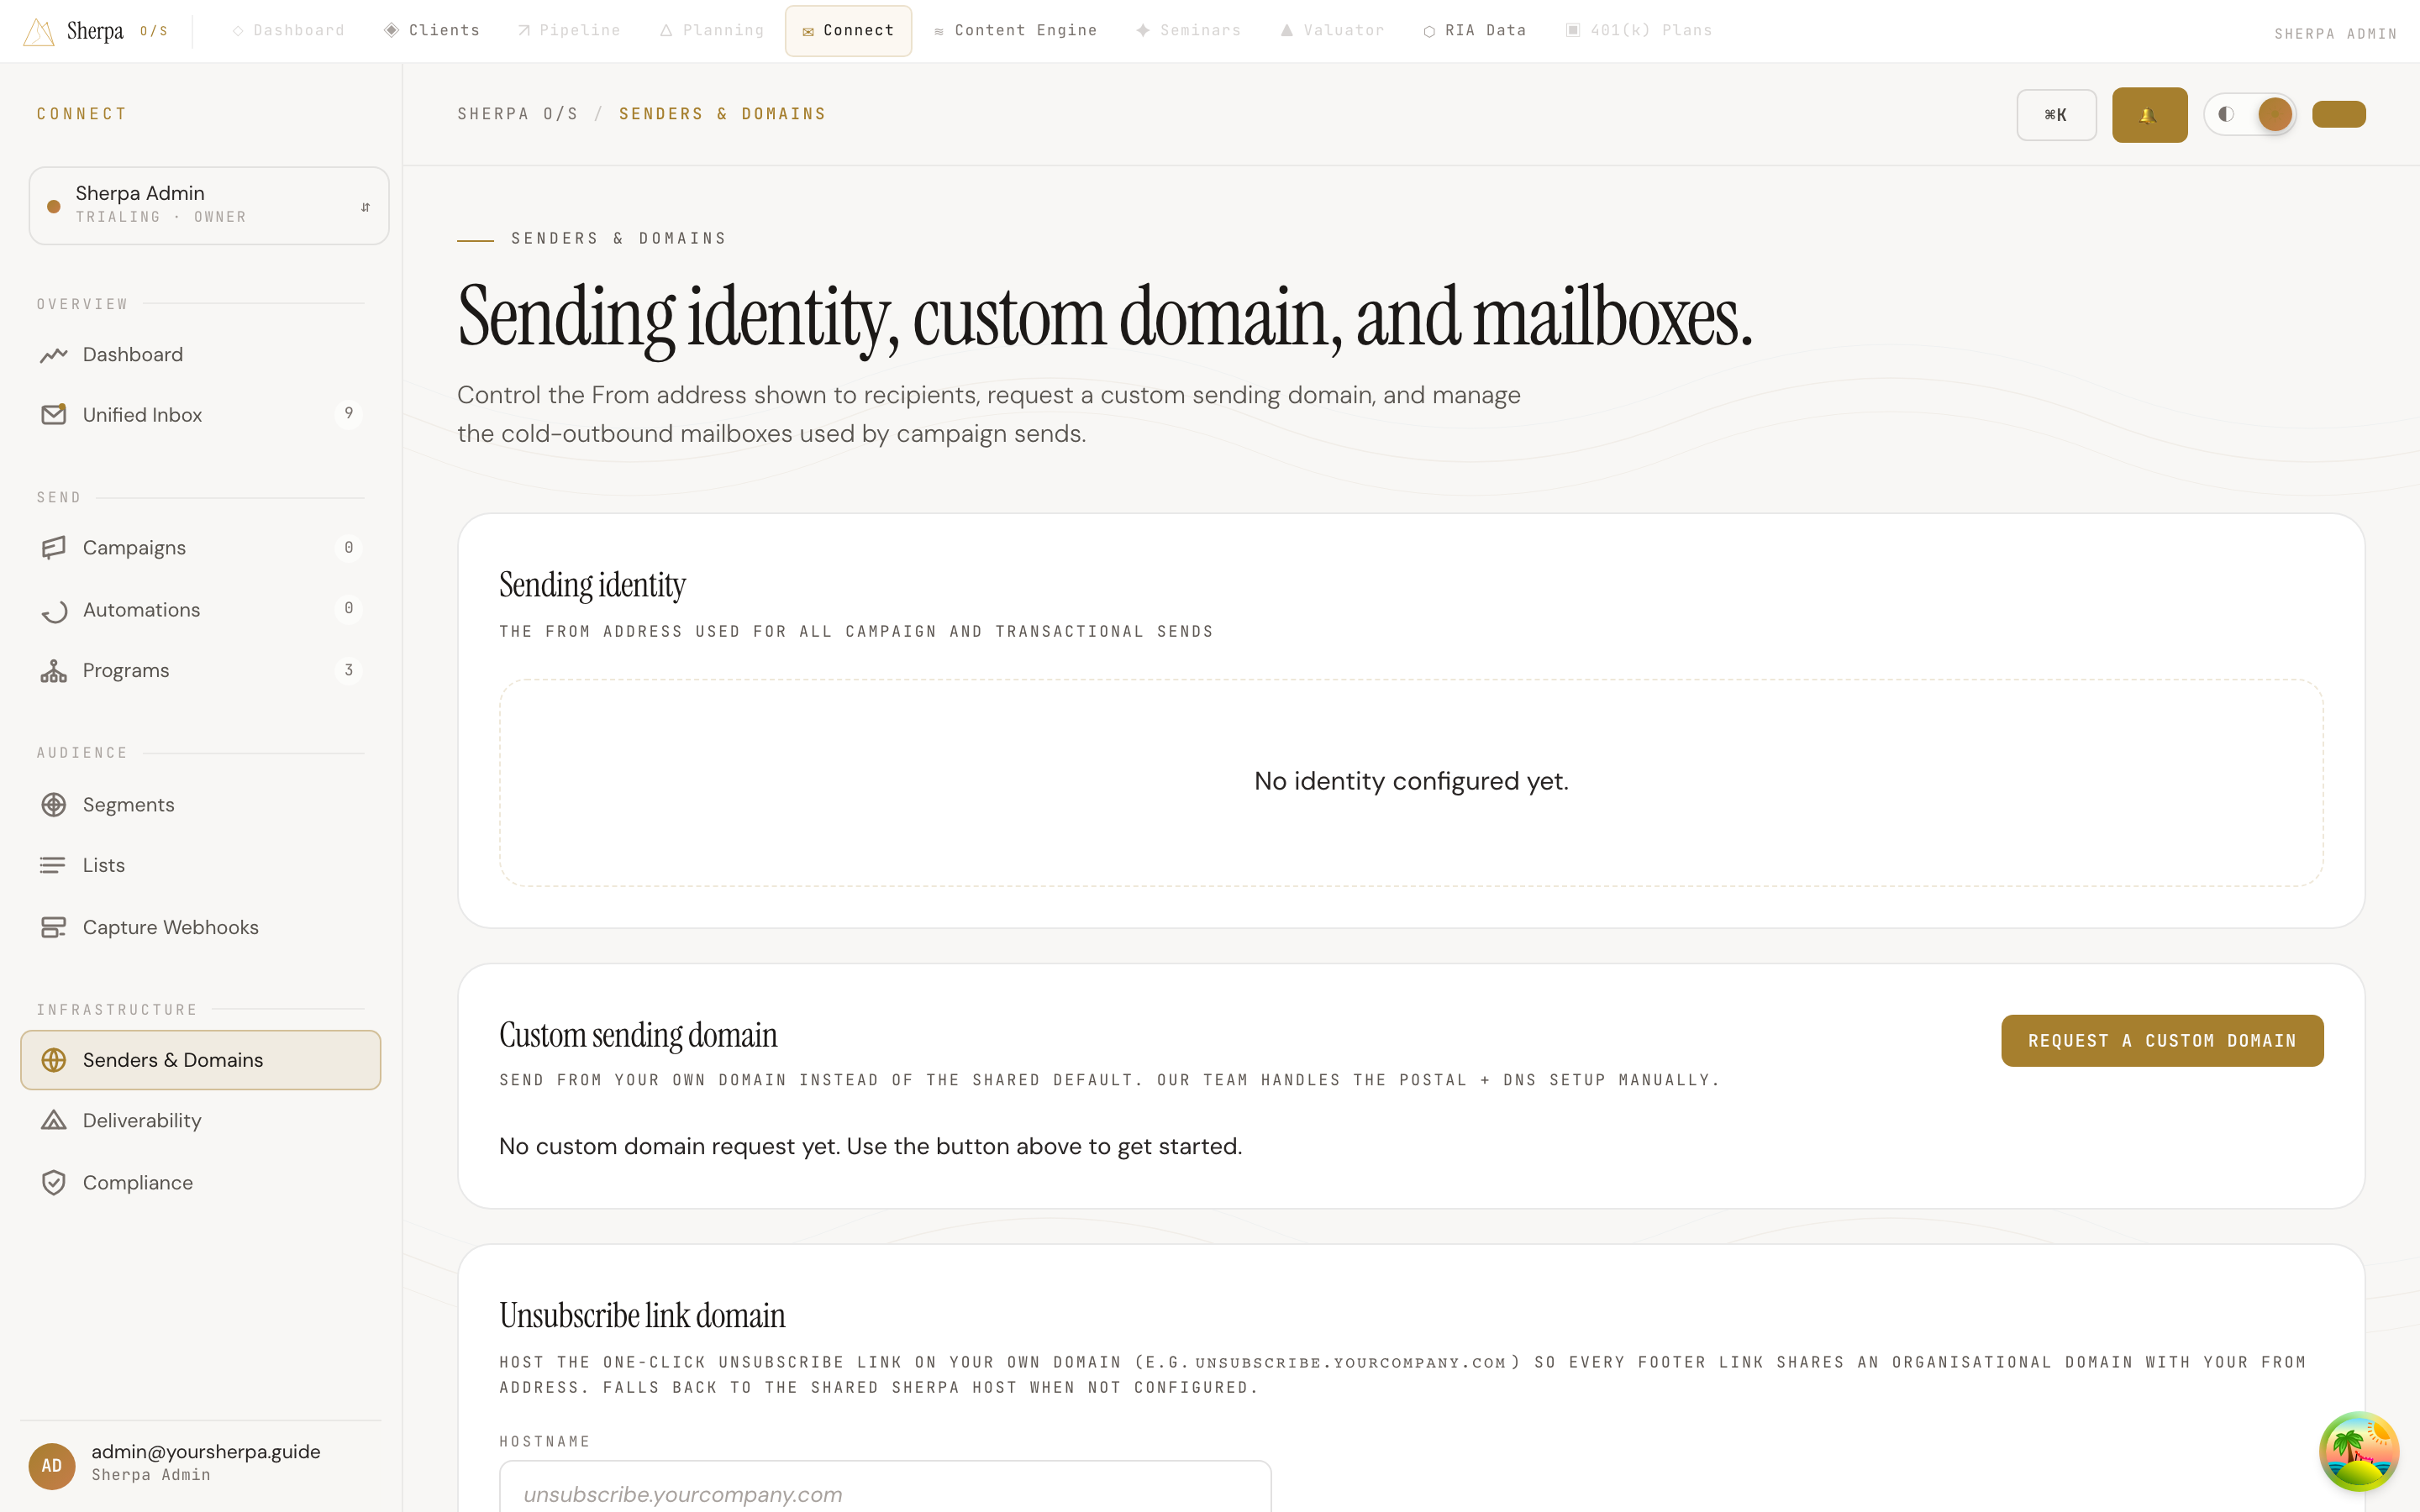
The Senders & Domains screen is your central control for everything that shapes how recipients see your email: your From address and display name, your custom sending domain, the unsubscribe link domain, and the cold-outbound mailboxes attached to your workspace.
Getting there
Section titled “Getting there”Open Connect -> Infrastructure -> Senders & Domains from the main navigation.
What you can do
Section titled “What you can do”View and update your sending identity
Section titled “View and update your sending identity”The Sending identity card shows the From address and display name that appear on all campaign and transactional sends. If your workspace is on the shared Sherpa domain, the type chip reads Shared domain. Once a custom domain is active, it switches to Custom domain.
To change the display name (“From” name):
- Locate the Display name field in the Sending identity card.
- Click Edit.
- Type your updated name and click Save.
The From address itself is controlled by Sherpa and is not editable directly — it is set when your custom domain is provisioned.
Request a custom sending domain
Section titled “Request a custom sending domain”By default, campaigns go out from a shared Sherpa domain. Sending from your own subdomain (for example, mail.yourfirm.com) improves brand recognition and deliverability.
To request a custom domain:
- In the Custom sending domain card, click Request a custom domain.
- Enter your desired domain in the Desired domain field. Use a subdomain such as
mail.yourcompany.comorsend.yourcompany.com. - Add any notes for the support team and click Submit request.
After you submit, the request moves through these statuses:
- Pending review — your request has been received.
- In progress — the Sherpa team is setting up your domain. A DNS records table will appear showing the exact records you need to add at your DNS provider. Copy each record using the Copy buttons and publish them. The team will verify and activate your domain once the records are in place.
- Active — your domain is live. All campaign sends will go out from your custom address.
- Rejected — the request could not be completed. A reason is shown. You can click Submit a new request to try again.
Configure a custom unsubscribe link domain
Section titled “Configure a custom unsubscribe link domain”The Unsubscribe link domain card lets you host the one-click unsubscribe link on your own subdomain (for example, unsubscribe.yourfirm.com) so every campaign footer link shares your organizational domain. If this is not configured, unsubscribe links use the shared Sherpa host.
To set this up, enter your chosen hostname, click Save host, then add the CNAME record shown and click Verify. Verification also requires a valid TLS certificate for that hostname.
Manage cold-outbound mailboxes
Section titled “Manage cold-outbound mailboxes”The Mailboxes panel lists every Gmail, Manual SMTP, and Outlook account connected for cold outreach. Each row shows the mailbox email, provider, status, connection health, warmup stage, daily sending cap, and warmup score.
From this panel you can:
- Click + Add mailbox to connect a new account.
- Click Test send to fire a one-line test email and confirm end-to-end delivery and authentication headers.
- For Gmail accounts, click Check for replies to pull inbound replies on demand rather than waiting for the next scheduled poll.
- Click Disconnect to remove a mailbox.
If a Gmail mailbox shows a Reply checking off warning, click Reconnect (or the warning chip itself) to re-authorize Google and restore inbound reply polling.