Importing clients
The Import screen lets you bulk-load your existing client list into Sherpa from a CSV file. It walks you through a three-step wizard — upload, column mapping, and commit — so you can review exactly what will change before any records are written.
Getting there
Section titled “Getting there”In the app, go to Clients → People → Import.
What you can do
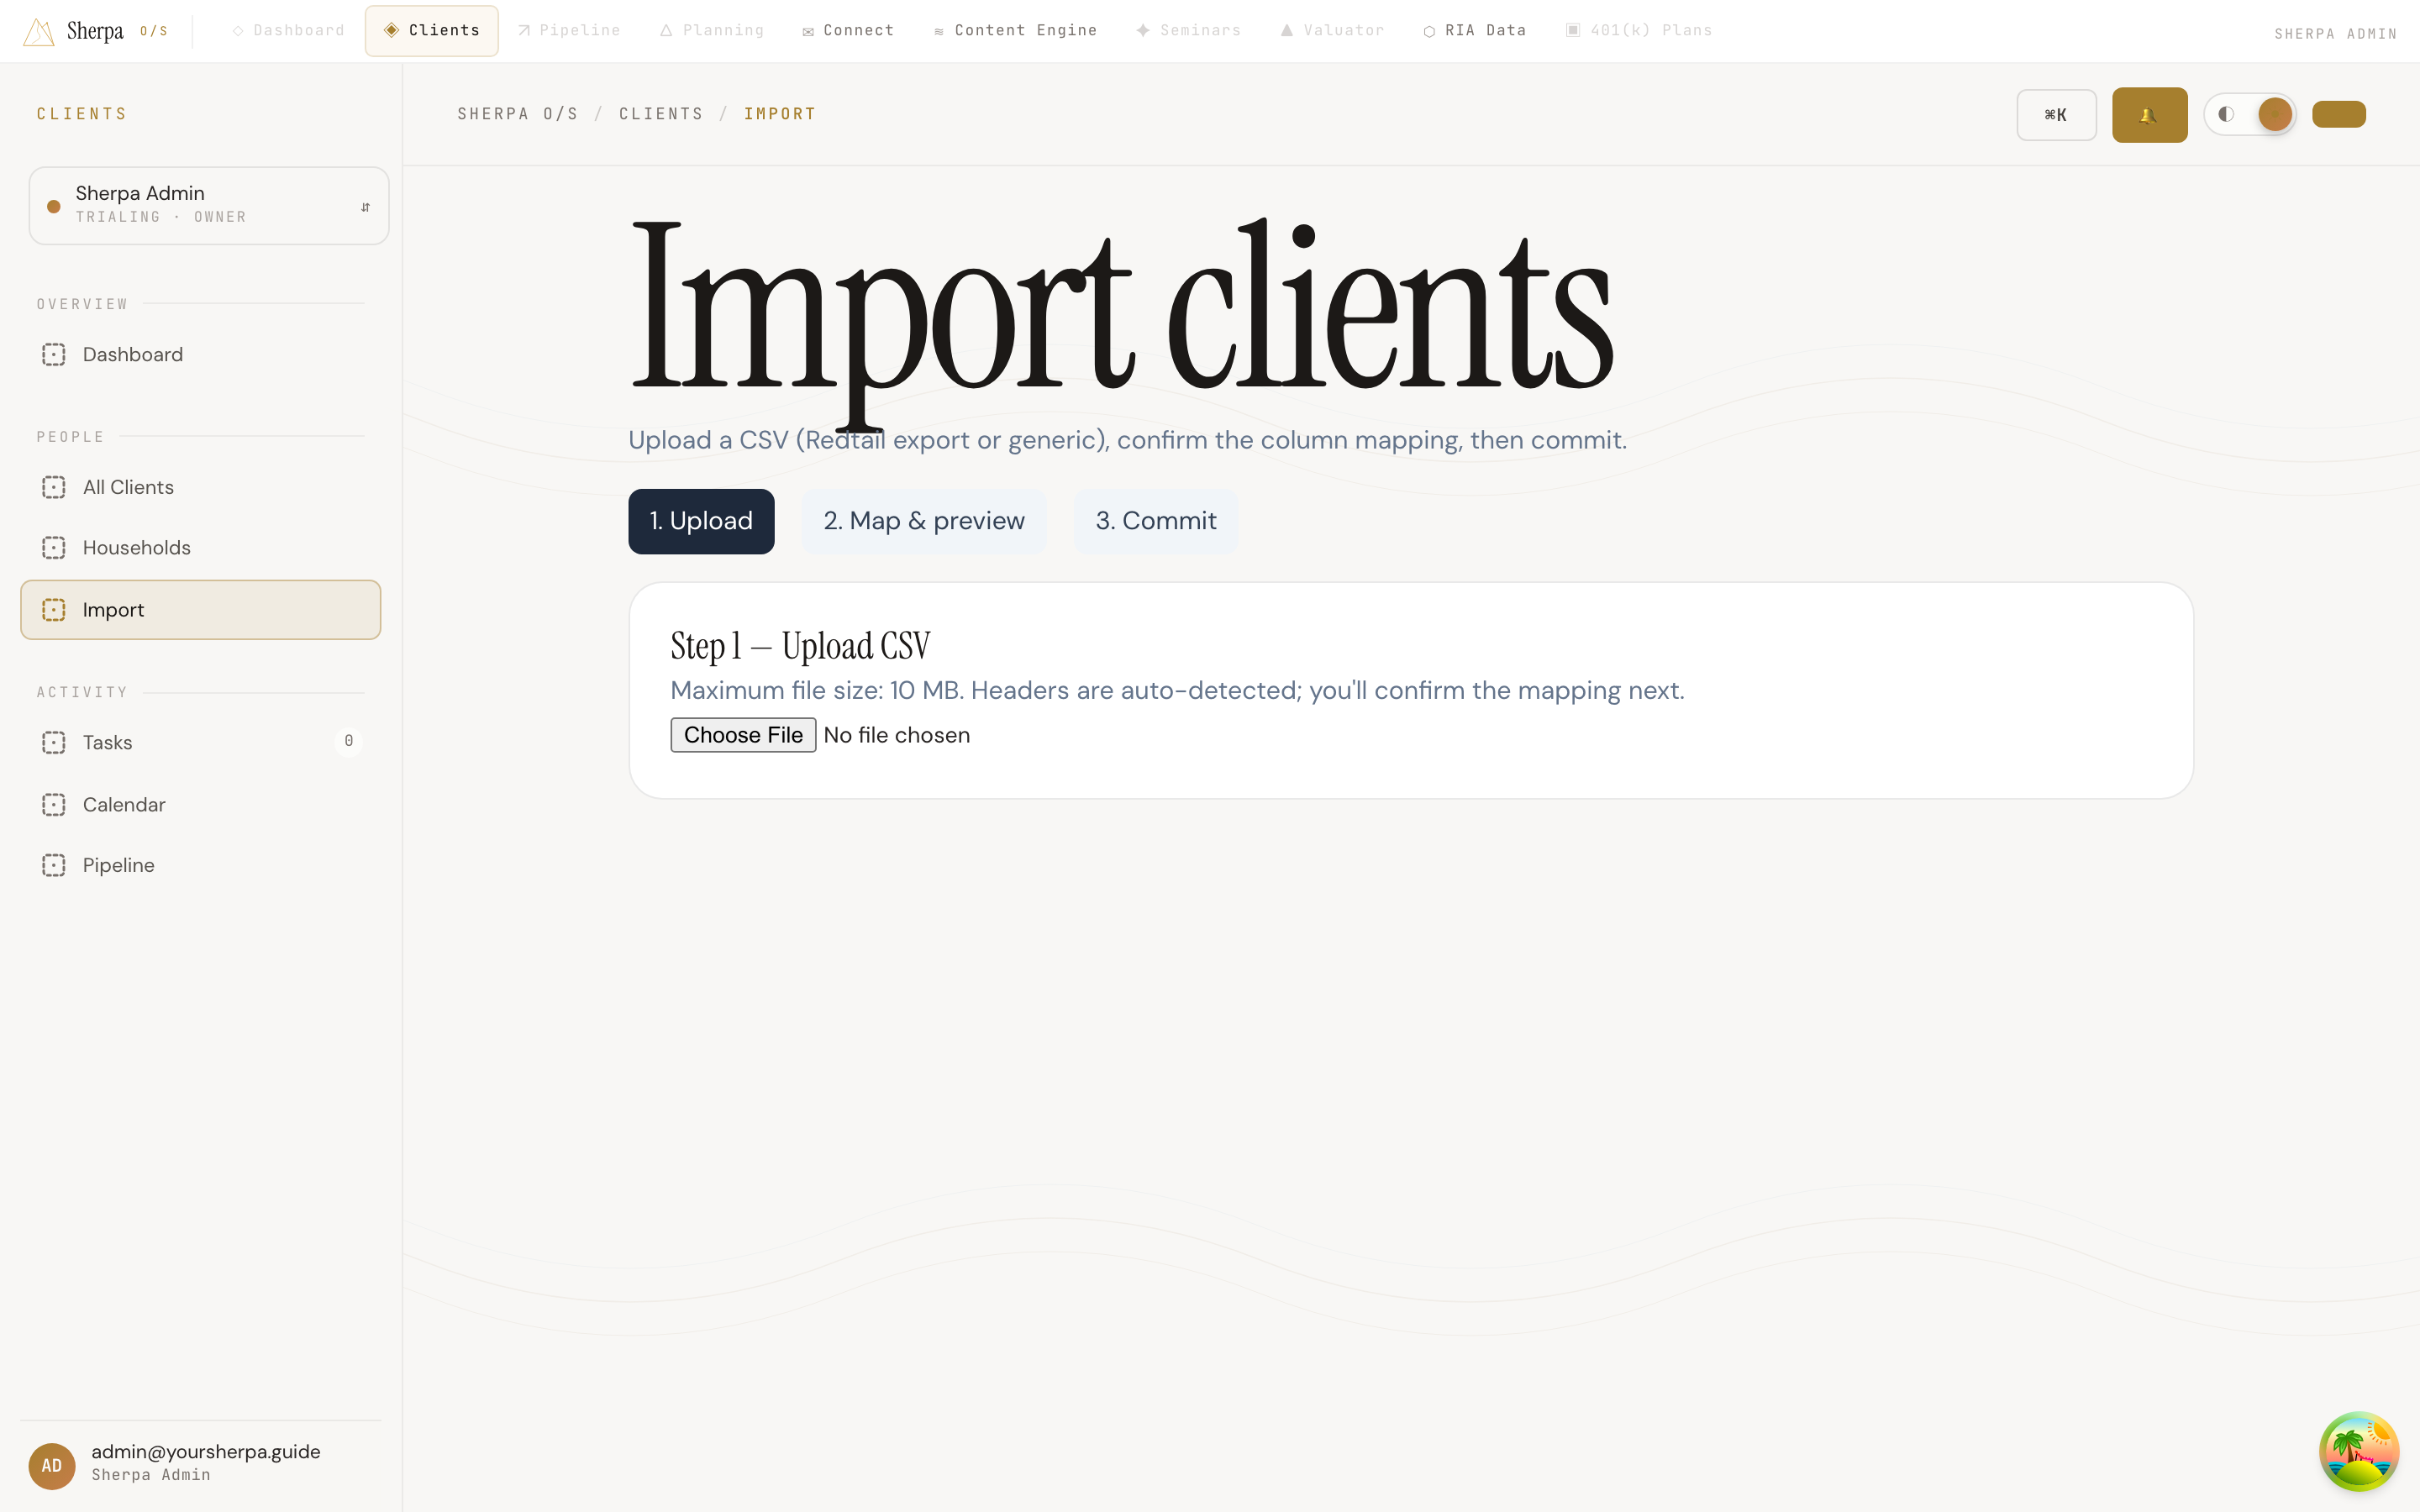
Section titled “What you can do”Step 1 — Upload your CSV
Section titled “Step 1 — Upload your CSV”- On the Import screen, click the file picker and select your CSV file. Files up to 10 MB are supported.
- Sherpa detects the column headers automatically and moves you to the mapping step.
Two CSV formats are recognized: Redtail CRM export and Generic CSV. You can switch the template in the next step if the auto-detection picks the wrong one.
Step 2 — Map columns and preview
Section titled “Step 2 — Map columns and preview”Once your file is uploaded, you see a mapping table listing every column from your CSV. For each column, use the dropdown to choose the Sherpa field it corresponds to — or select — Skip this column — to ignore it.
Available Sherpa fields include: First name, Last name, Email, Phone, Date of birth, Address, Employer, Job title, Marital status, Preferred channel, Became client (date), Next review (date), Category, Tier, and Household name. Mapping a column to Household name automatically groups contacts into households during the import.
You also choose a Deduplicate rule:
- By email (recommended) — matches an incoming row to an existing client by email address and updates that record instead of creating a duplicate.
- By first + last + date of birth — useful when email addresses are missing or inconsistent.
- Don’t deduplicate (always create) — every row becomes a new record regardless of existing data.
When your mapping looks right, click Preview import. Sherpa dry-runs the file and shows a summary: total rows, records that will be created, records that will be updated, skipped rows, any failures, and new households to be created. If rows fail validation, a collapsible table shows the row number, reason, and detail for up to 25 errors so you can fix your CSV and re-upload if needed.
Step 3 — Commit
Section titled “Step 3 — Commit”If the preview looks correct, click Commit n changes. The import runs in the background; a status pill on the page updates from Preview ready → Importing… → Completed (or Failed). Once completed, you can download an errors.csv file for any rows that did not import successfully.
If you need to start over at any point, click Start over to return to the upload step.
Recent imports
Section titled “Recent imports”Below the wizard, a Recent imports table lists your previous import jobs with their file name, template, status, timestamp, and a created/updated/failed summary. Click Open on any past job to re-examine its mapping or check its final status.