Workspaces
The Workspaces screen shows every workspace your account belongs to and lets you jump between them or spin up a brand-new one. It is the starting point whenever you need to work under a different firm or entity in Sherpa-OS.
Getting there
Section titled “Getting there”Open the workspace switcher from the navigation bar, or go directly to /workspaces.
What you can do
Section titled “What you can do”Switch workspaces
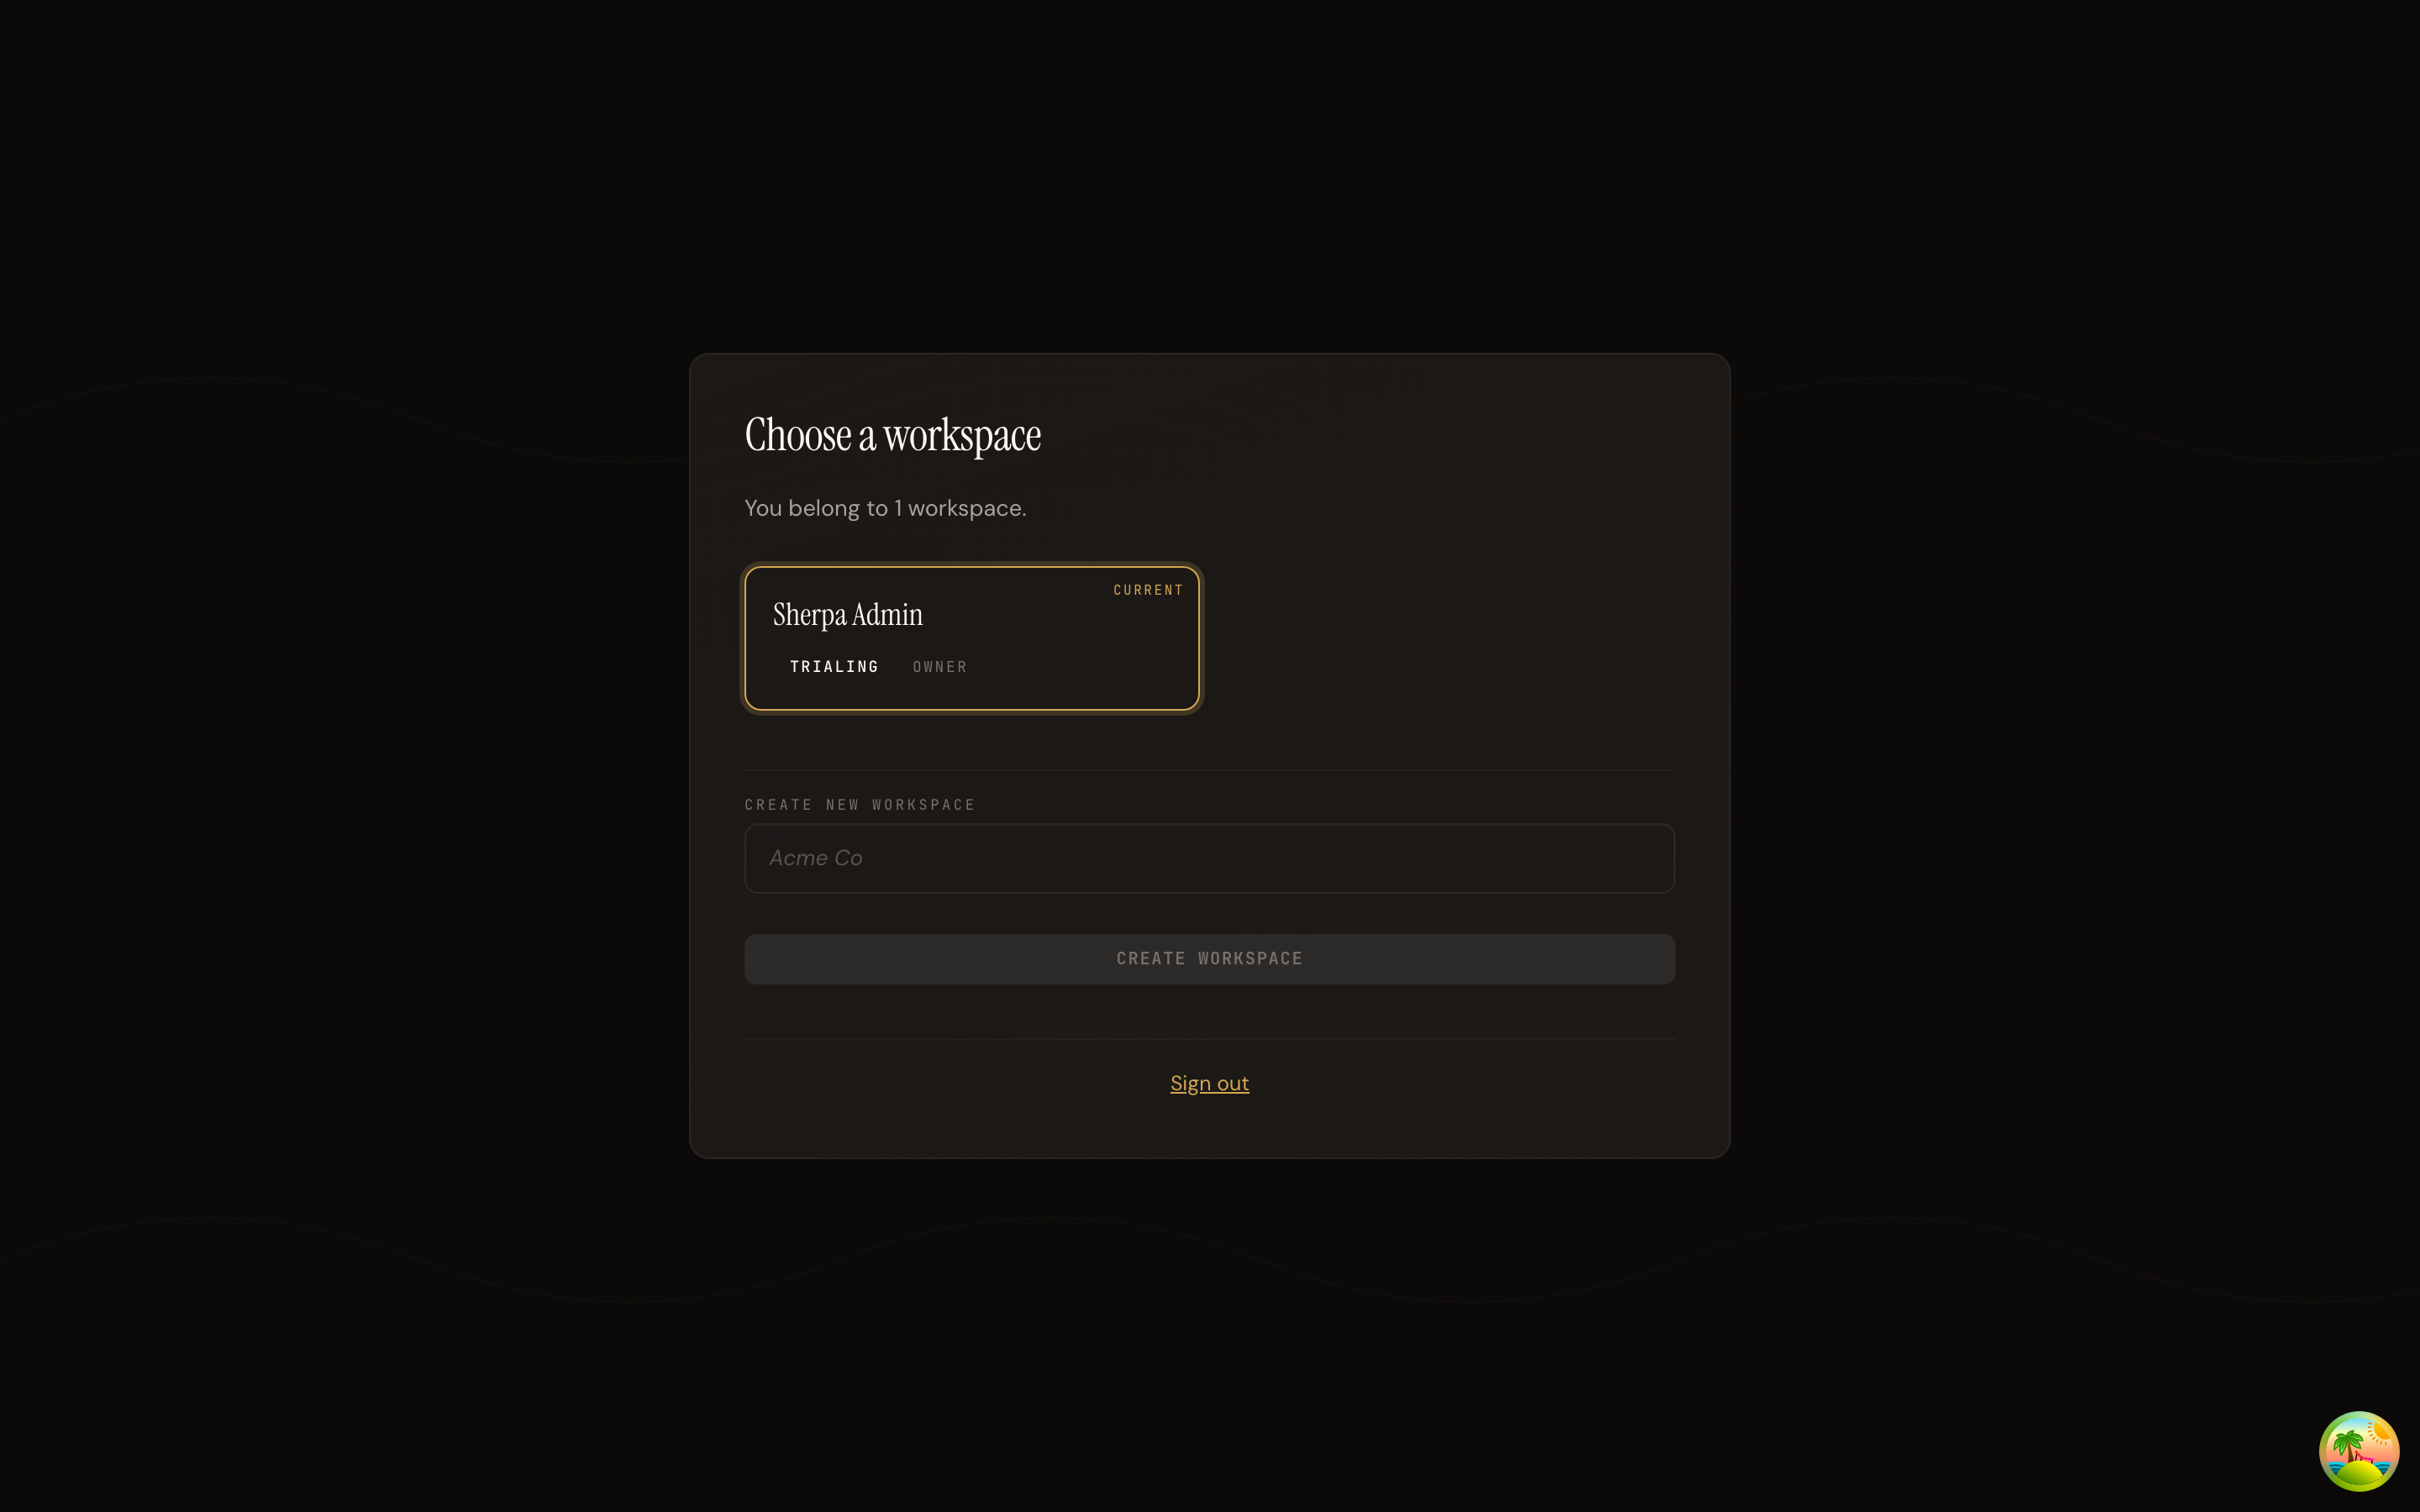
Section titled “Switch workspaces”The screen opens with a grid of workspace cards — one card per workspace you belong to. Each card shows:
- Workspace name — the name of the firm or entity.
- Plan badge — the subscription tier for that workspace (for example, “trialing”).
- Your role — such as “Member” or another role assigned by a workspace admin.
- Current — a label that marks the workspace you are already signed in to.
To switch, click any card. You are taken straight to the dashboard for that workspace. The Current badge moves to confirm the change.
Create a workspace
Section titled “Create a workspace”Below the grid is a Create new workspace form.
- Type a name in the text field (for example, “Acme Co”).
- Click Create workspace.
Sherpa-OS creates the new workspace and signs you in to it immediately. If something goes wrong an error message appears above the button — review it and try again.
Sign out
Section titled “Sign out”A Sign out link at the bottom of the card ends your session and returns you to the login screen.