Saved Cohorts
Saved Cohorts let you name and store any combination of filters on the Browse screen and reapply them instantly — no need to rebuild a complex filter set from scratch each time you return.
Getting there
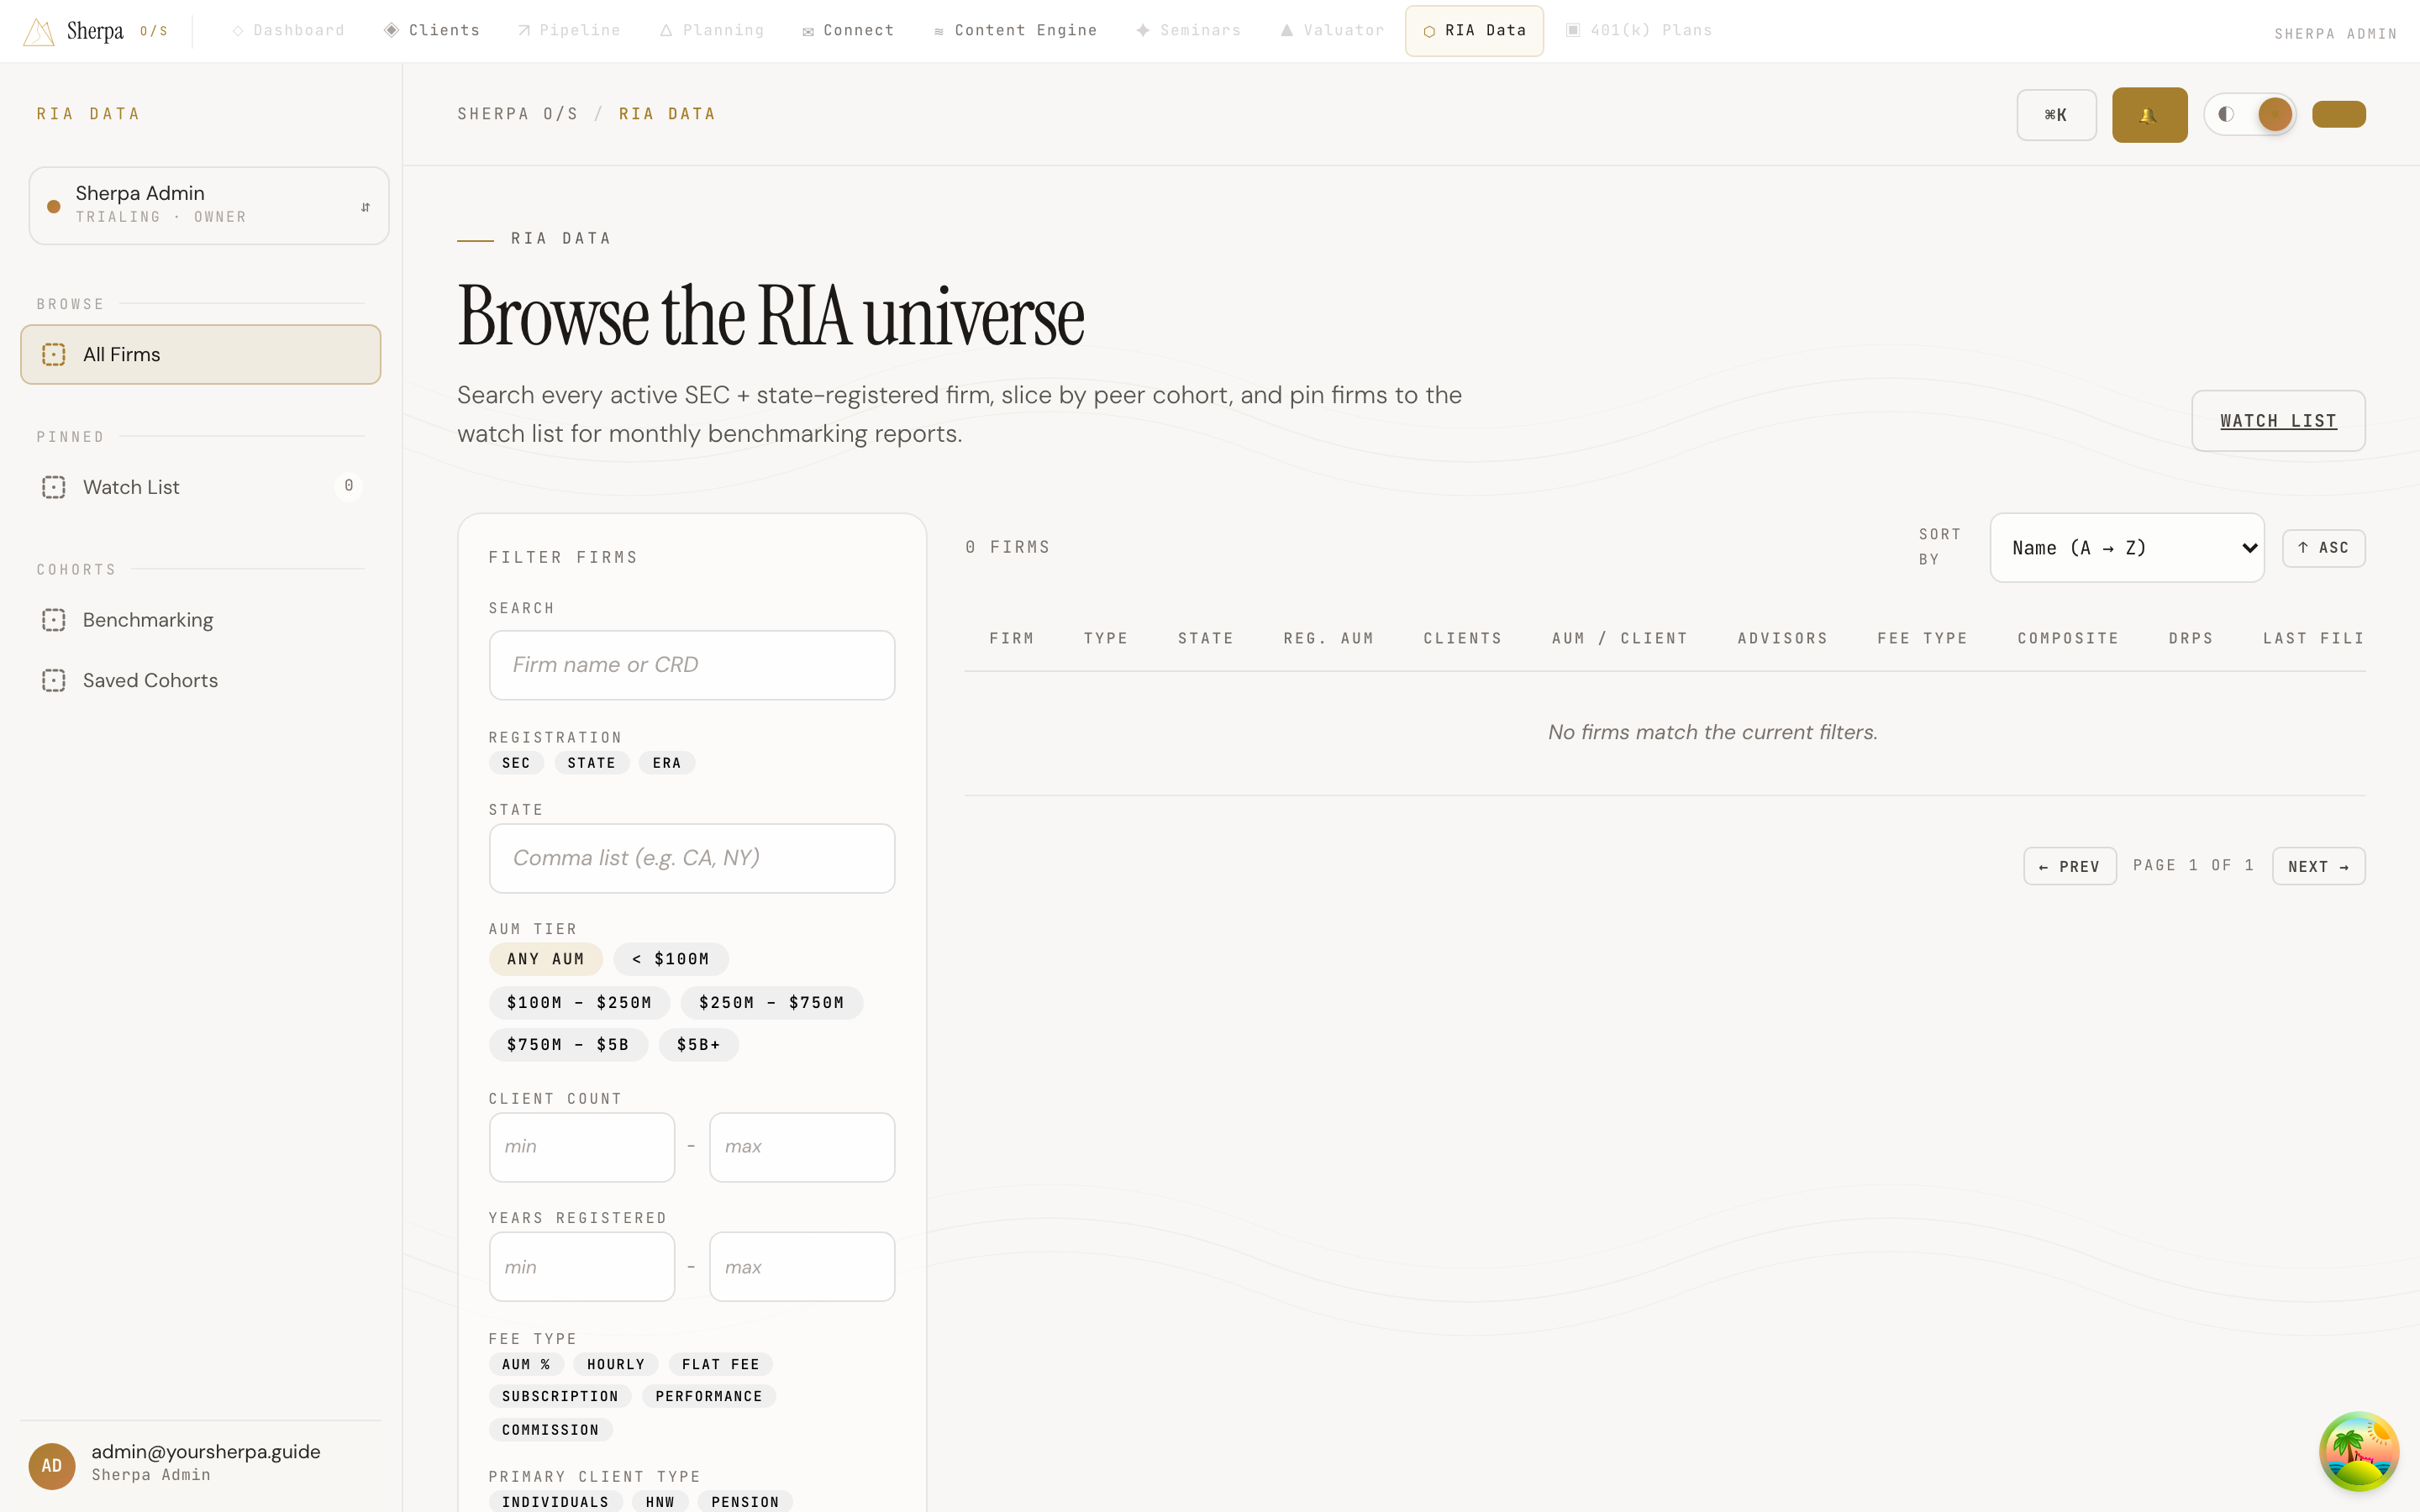
Section titled “Getting there”In the app, navigate to RIA Data → Cohorts → Saved Cohorts. The cohort controls live in the filter rail on the left side of the Browse screen.
What you can do
Section titled “What you can do”Save your current filters as a cohort
Section titled “Save your current filters as a cohort”After dialing in filters on the Browse screen — AUM tier, registration type, state, fee type, primary client type, client count range, years registered, BD-affiliated toggle, and so on — you can save that exact combination as a named cohort.
- Adjust the filters in the left rail until the results match the peer group you want.
- Click Save current filters as cohort… at the bottom of the filter rail.
- Enter a Cohort label (for example, “HNW boutique $250M–$750M”).
- Optionally enter a Slug — a short, URL-safe identifier using lowercase letters, digits, and hyphens. If you leave it blank, Sherpa generates one from the label.
- Click Save cohort. The cohort appears in the “Saved cohorts” section of the filter rail.
Apply a saved cohort
Section titled “Apply a saved cohort”In the “Saved cohorts” section of the filter rail, click any cohort chip to load its filters back into the Browse screen. The results header shows “framed by cohort” while a cohort is active. Clicking the same chip again deactivates it.
Cohorts are tagged as either custom (ones you created) or preset (built-in cohorts provided by Sherpa).
Export cohort data
Section titled “Export cohort data”Each cohort has two export buttons:
- Members CSV — downloads every firm in the cohort along with their scores.
- Distribution CSV — downloads the percentile distribution for the cohort.
Click either button next to the cohort name and the file downloads to your computer automatically.