Capture Webhooks
Capture Webhooks gives you public POST endpoints that accept form submissions from any website, landing page, or third-party service. Each submission creates or updates a contact in Sherpa and can immediately enroll that person in an automation or program.
Getting there
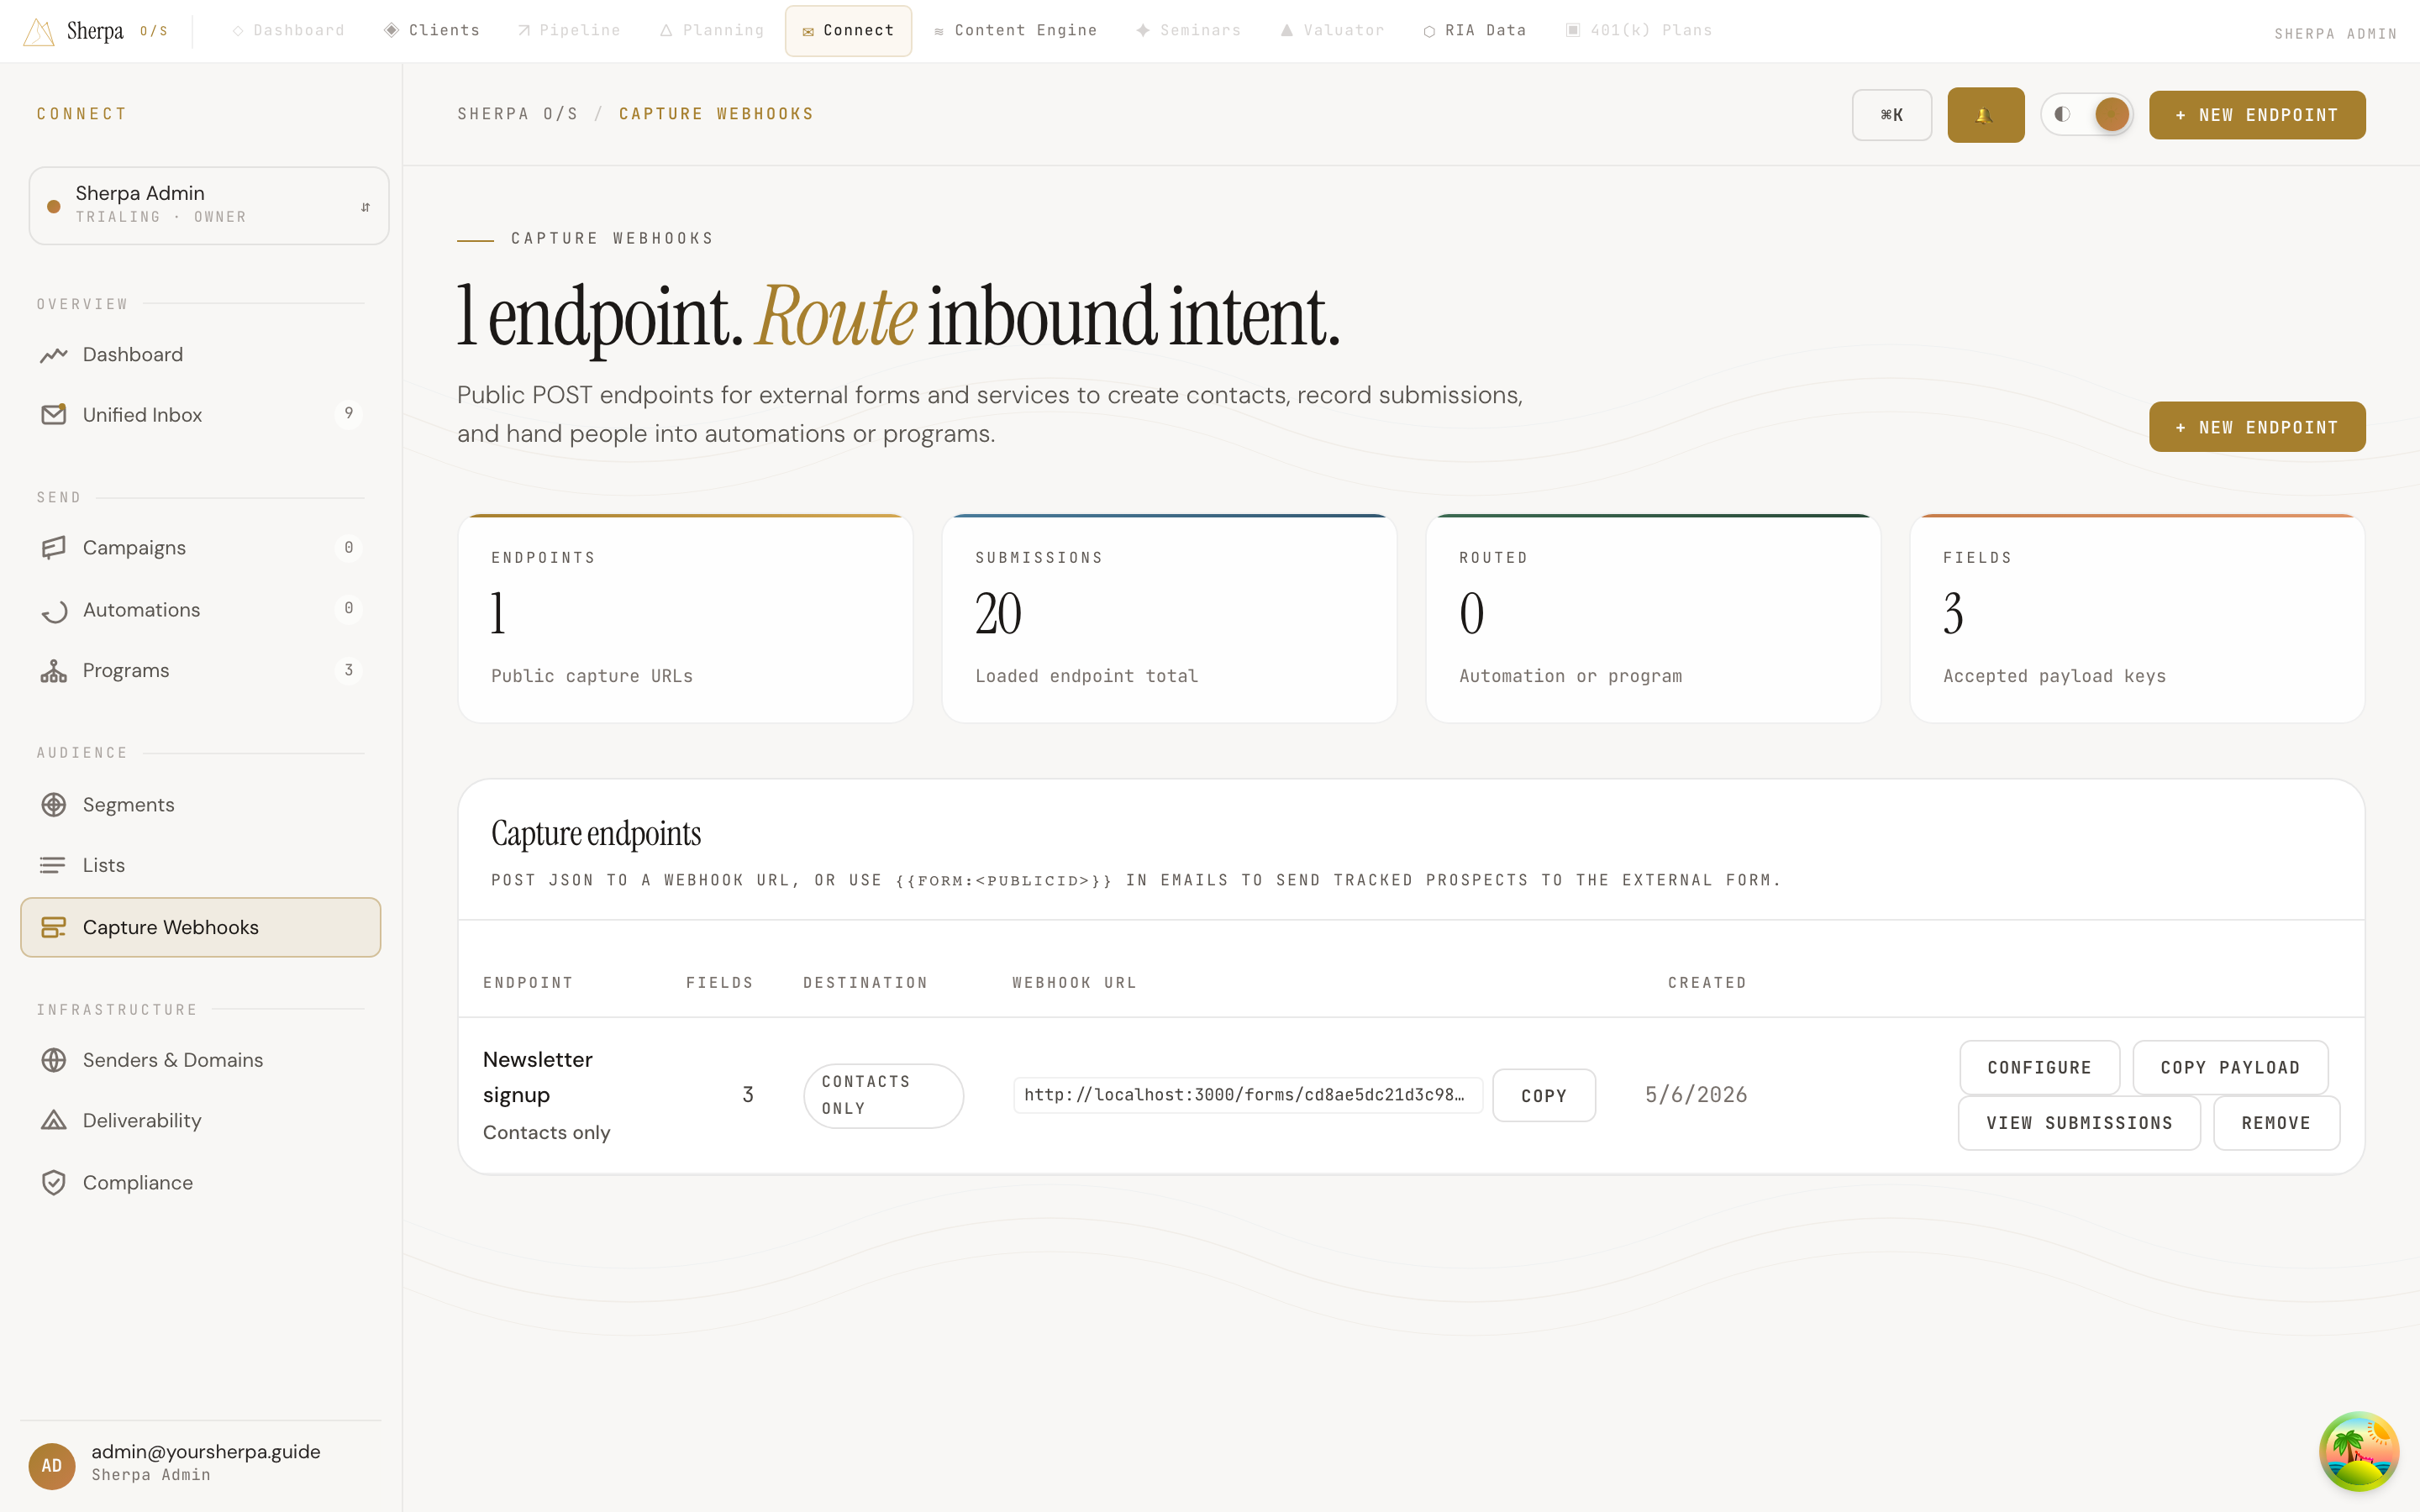
Section titled “Getting there”In the left navigation, go to Connect, then open Audience, and select Capture Webhooks.
What you can do
Section titled “What you can do”Create a new endpoint
Section titled “Create a new endpoint”- Click + New endpoint in the top-right corner.
- Enter an Endpoint name (for example, “Website lead webhook”).
- Under Payload fields, click + Add payload field for each piece of data your form will send. For every field, set a key (the JSON property name your form posts), a Label, a Type (Text, Email, Number, Textarea, or Checkbox), and whether the field is Required.
- Click Create endpoint. Sherpa generates a unique webhook URL immediately.
Read and copy the webhook URL
Section titled “Read and copy the webhook URL”Each row in the endpoint table shows the full webhook URL under the Webhook URL column. Click Copy to copy it to your clipboard, then paste it into your external form or service as the POST destination.
To see an example JSON payload shaped to your endpoint’s fields, click Copy payload — use this when configuring the sending service or testing with a tool like Postman.
Configure routing and response behavior
Section titled “Configure routing and response behavior”Click Configure on any row to open the webhook configuration panel. From here you can:
- External form URL — paste the URL of the hosted form page so Sherpa can generate a tracked merge token link for use in emails.
- Link display text — the anchor text rendered when the merge token appears in an email body (for example, “Download the guide”).
- Response email subject / body — optional automatic reply email sent to the submitter after a successful submission. The body accepts HTML and supports merge tokens such as
{{firstName}}. - Lead-magnet PDF — upload a PDF to attach or link in the response email.
- Automation to enroll — choose a published automation sequence to enroll the contact in upon submission.
- Program to route into — select a program to add the contact to.
- Update contact email when submitted email differs from tracked contact — when checked, an existing contact’s email address is overwritten if the submission contains a different one.
Click Save configuration to apply changes.
Use a merge token in emails
Section titled “Use a merge token in emails”Each endpoint exposes a merge token in the format {{form:<publicId>}}. Insert it in any email body to render a tracked link to your external form URL. When a recipient clicks the link, Sherpa records the click and associates it with that contact before redirecting them to the form page.
Review recent submissions
Section titled “Review recent submissions”Click View submissions on any row to expand a panel showing a timestamped log of recent POST requests received by that endpoint, including the raw submitted data.
Remove an endpoint
Section titled “Remove an endpoint”Click Remove on any row and confirm the prompt. This action requires the forms:delete permission.