Senders & Domains
The Senders & Domains screen is your control center for everything that determines how your emails appear to recipients and how outbound messages are routed. Use it to review your sending identity, request a custom domain, configure your unsubscribe link domain, and manage the individual mailboxes Sherpa uses for cold-outbound campaigns.
Getting there
Section titled “Getting there”In the left navigation, go to Connect, then open Infrastructure and select Senders & Domains.
What you can do
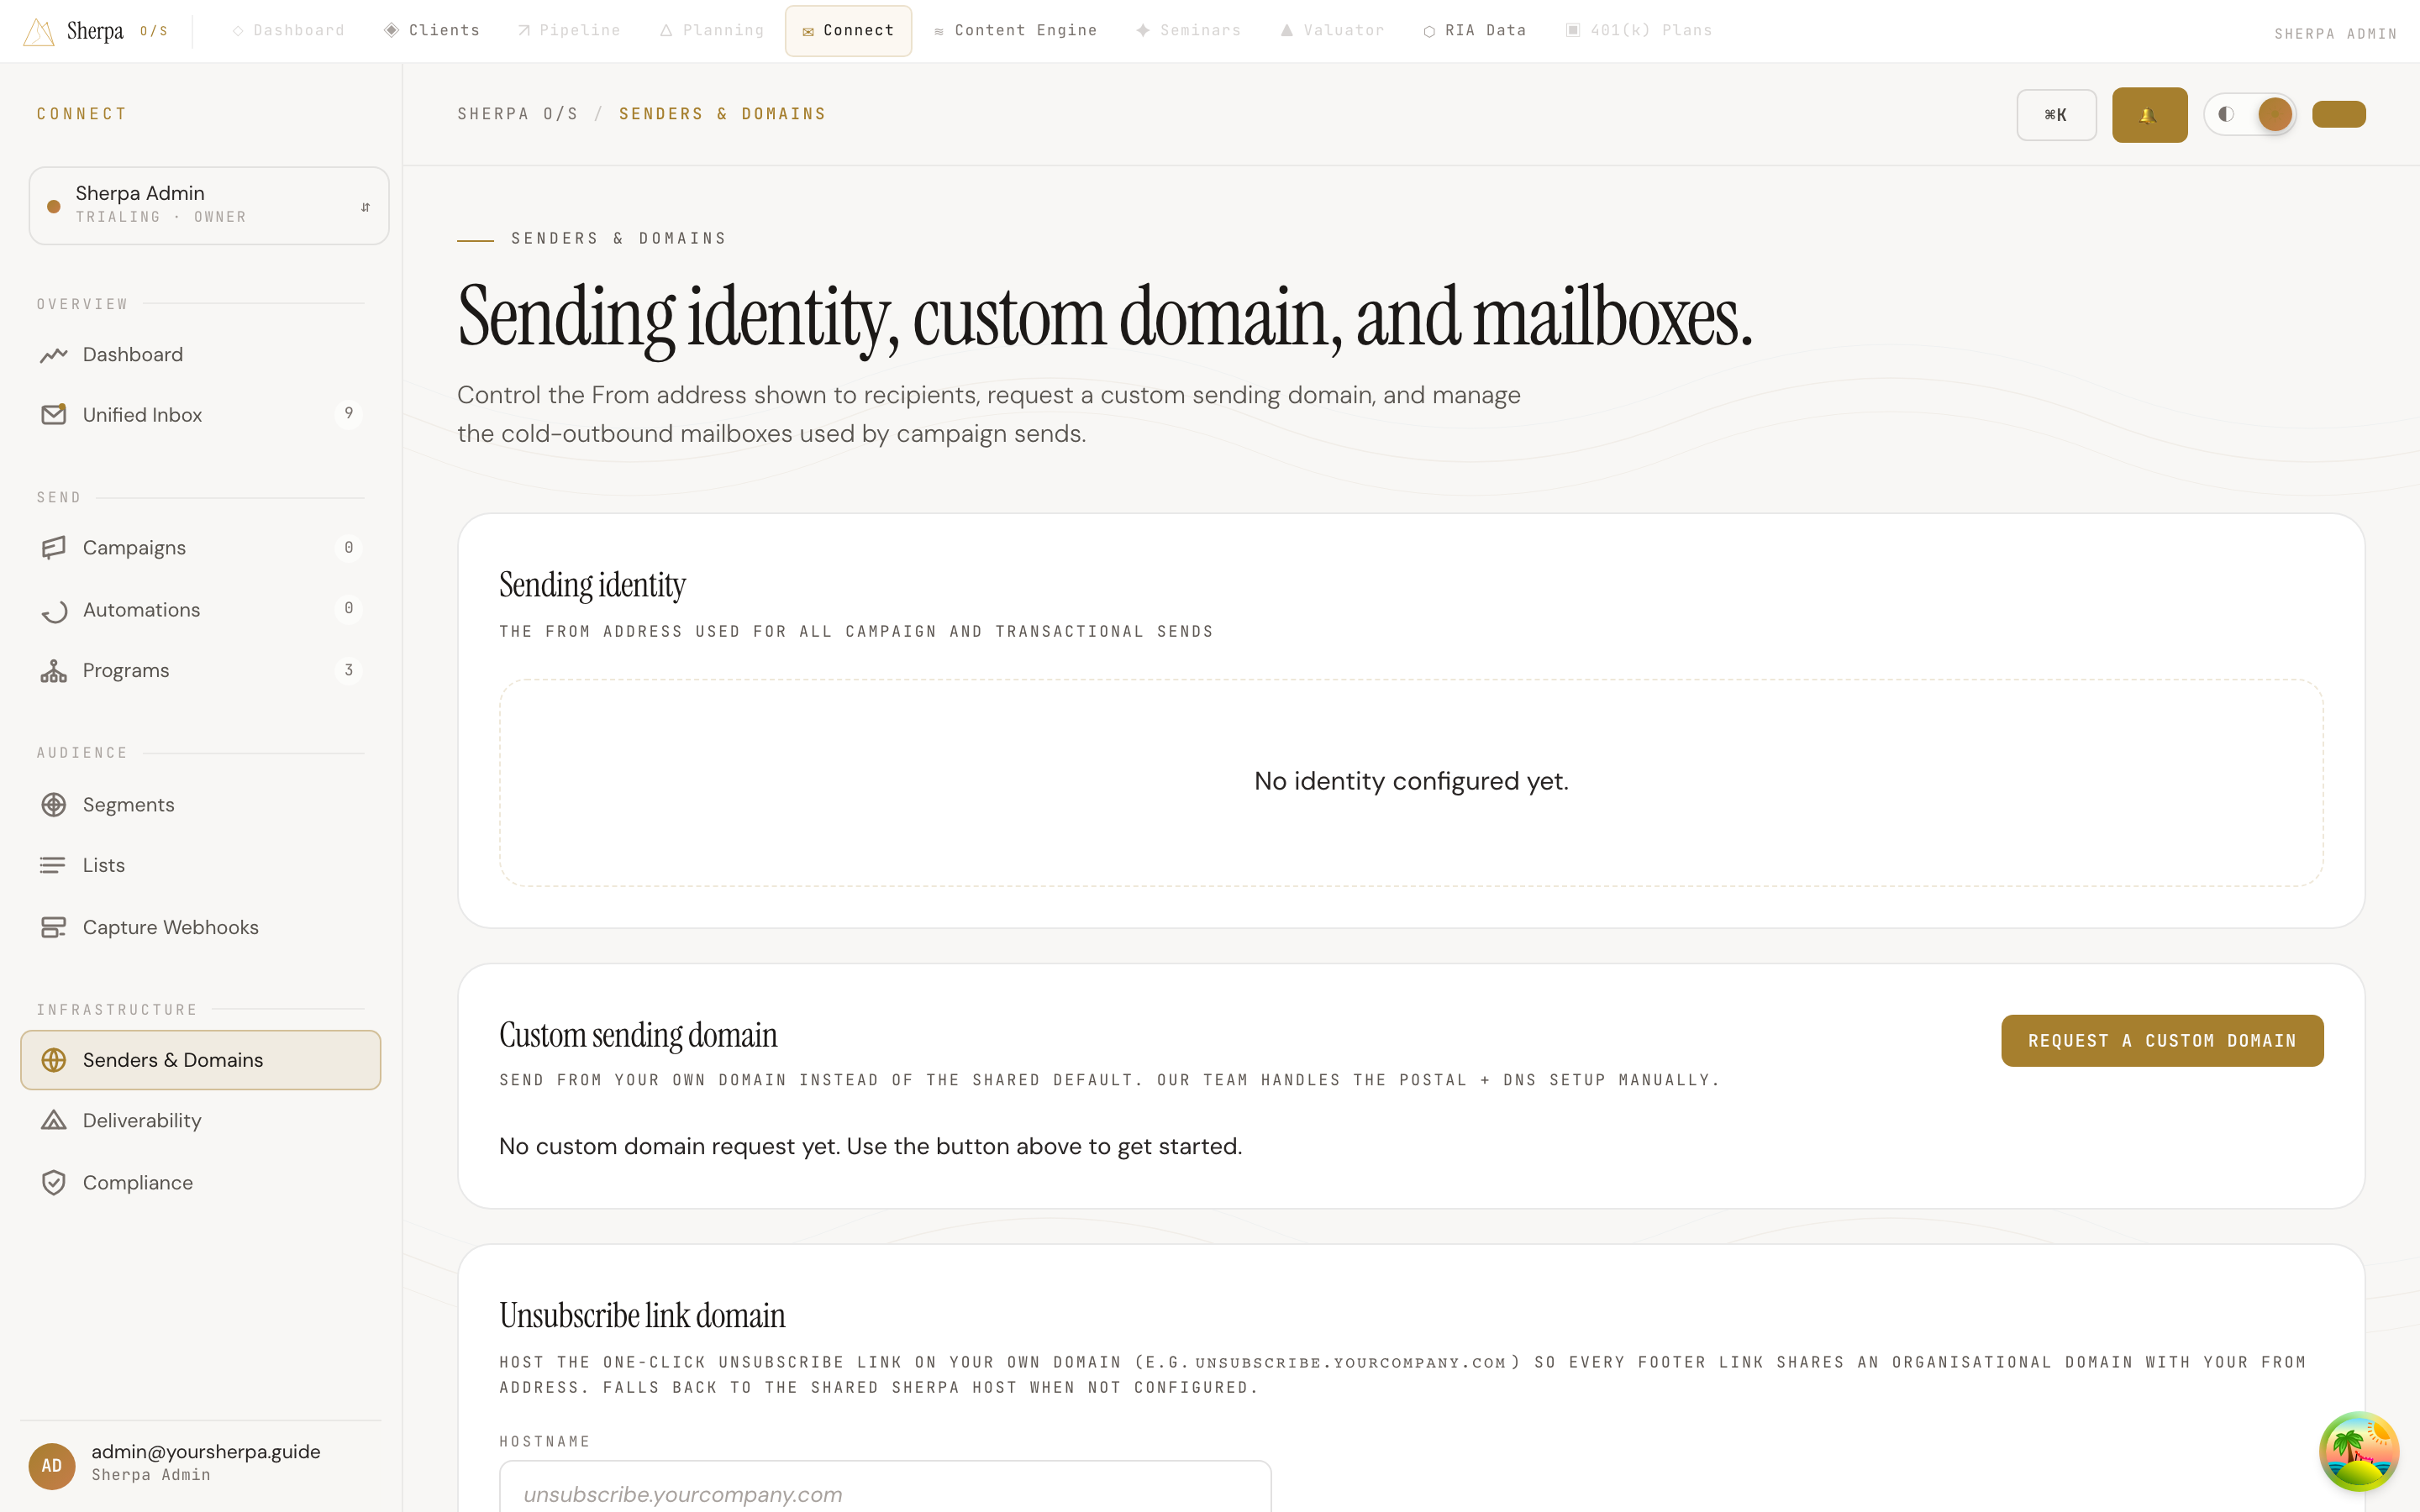
Section titled “What you can do”Review your sending identity
Section titled “Review your sending identity”The Sending identity card shows the From address and display name that appear on every campaign and transactional email Sherpa sends on your behalf. Your identity is either on a Shared domain (Sherpa’s default) or a Custom domain (your own). Users with the workspace:settings permission can edit the display name (“From” name) inline — click Edit, update the name, then click Save.
Request a custom sending domain
Section titled “Request a custom sending domain”Sending from your own domain (for example, mail.yourfirm.com) improves deliverability and brand recognition. The Custom sending domain card shows the status of your request:
- Click Request a custom domain.
- Enter the subdomain you want to use (for example,
mail.yourcompany.comorsend.yourcompany.com) and any notes for the support team, then click Submit request. - The request moves through Pending review → In progress → Active. While the status is In progress, Sherpa displays a table of DNS records (Type, Host/name, Value) with Copy buttons for each field. Add those records at your DNS provider.
- The Sherpa team verifies the records and activates your domain. Once Active, the same DNS records table remains visible for reference.
If a request is rejected, the rejection reason is shown and a Submit a new request button appears so you can resubmit.
Configure your unsubscribe link domain
Section titled “Configure your unsubscribe link domain”The Unsubscribe link domain card lets you host the one-click unsubscribe link on a subdomain you control (for example, unsubscribe.yourfirm.com) so the footer link shares your organisational domain. If nothing is configured, Sherpa falls back to its shared host.
- Enter a hostname you control, then click Save host. Sherpa will display a CNAME record to publish at your DNS provider.
- After adding the CNAME, click Verify. Verification also requires a valid TLS certificate to be active on your hostname, which may take a few minutes after the CNAME first resolves.
- Once status shows Verified, the custom host is live. If verification fails, the Last error detail is shown so you can diagnose the issue.
To remove the custom host and revert to the shared Sherpa host, click Remove host.
Manage cold-outbound mailboxes
Section titled “Manage cold-outbound mailboxes”The Mailboxes table lists every Gmail, Outlook, or manual SMTP account connected for cold-outbound campaign sends. Each row shows the email address, provider chip (Gmail, Outlook, or Manual SMTP), status, connection health, warmup status, daily send cap, and warmup score.
- Click + Add mailbox to connect a new account.
- Click Test send to dispatch a one-line verification email through any connected mailbox and confirm SPF/DKIM/DMARC headers in a real inbox.
- For Gmail mailboxes, click Check for replies to trigger an immediate reply poll rather than waiting for the next automated check.
- If a Gmail mailbox shows a Reconnect button (for example, when the Google sign-in has expired or inbox-access scope is missing), click it to go through the Google OAuth flow again.
- Click Disconnect to remove a mailbox from active use.
SMTP mailboxes also display a Last bounce check timestamp. If the bounce check is failing, the error is shown inline and a Re-poll now button lets you retry immediately.