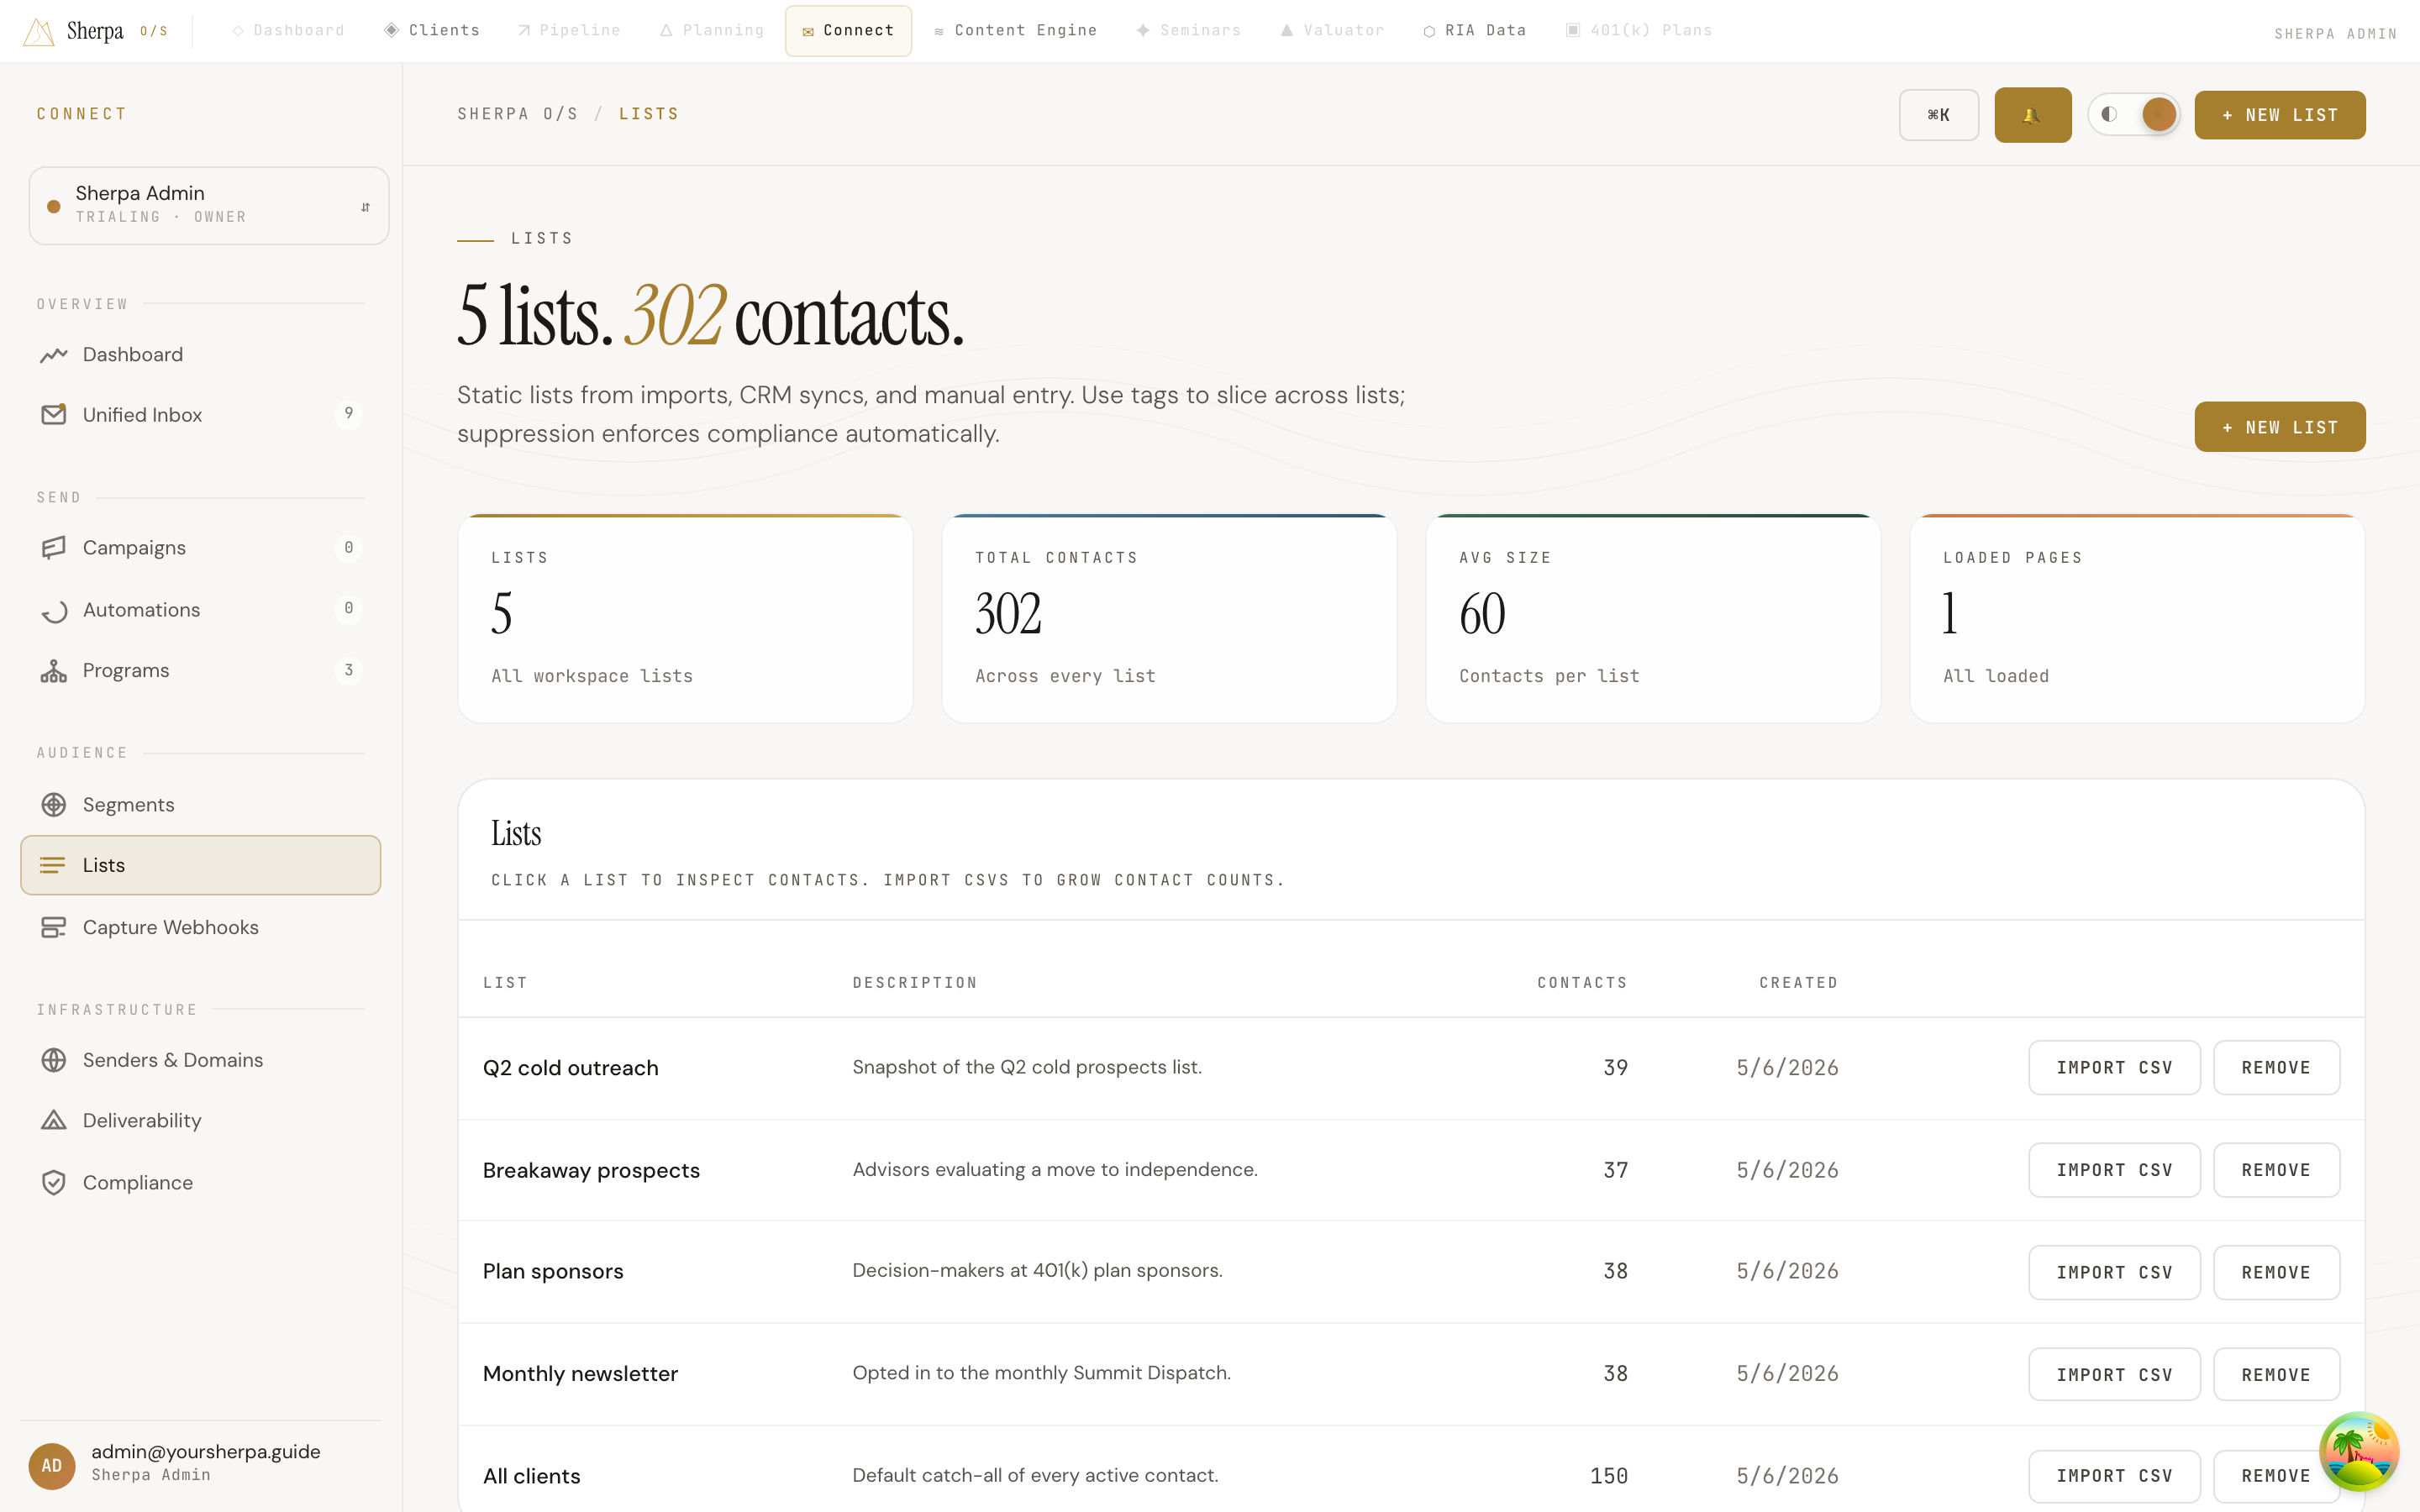
Lists
Lists are static groups of contacts that you manage directly — created by CSV import, CRM sync, or manual entry. Use them to organize your audience and target campaigns precisely.
Getting there
Section titled “Getting there”In Connect, open the Audience menu and select Lists.
What you can do
Section titled “What you can do”View your lists
Section titled “View your lists”The page opens with a summary bar showing the total number of lists, total contacts across all lists, and average list size. Below that, a table lists every list in your workspace with four columns:
- List — the list name, which you can click to open the detail view for that list
- Description — a short optional note you added when creating the list
- Contacts — how many contacts are currently in the list
- Created — the date the list was created
If you have many lists, a Load more button appears at the bottom of the table to page through the full set.
Create a new list
Section titled “Create a new list”- Select + New list in the top-right corner of the page.
- Fill in the form that appears (name and optional description), then save.
The new list appears in the table immediately.
Import contacts from a CSV
Section titled “Import contacts from a CSV”- In the table row for the list you want to populate, select Import CSV.
- Pick a
.csvfile from your computer. - The Map CSV columns dialog opens. Each column in your file is shown alongside a Sherpa field dropdown and sample values from the first few rows.
- Map at least one column to Email — this is required before the import can proceed. The other available fields are First name, Last name, Source note, Source URL, and Custom attribute. Any column you do not need can be left as Ignore.
- Sherpa guesses the mapping automatically based on common column names (for example, a column named “email” or “Email Address” maps to Email without any action from you). Review and adjust if needed.
- Select Import contacts to run the import. A results summary appears when it finishes, showing how many contacts were added, skipped, or had errors.
Remove a list
Section titled “Remove a list”Select Remove on the row for the list you want to delete. You will be asked to confirm before the list is deleted. This action cannot be undone.