Tasks
The Tasks screen gives you a single place to manage every follow-up, review, and onboarding step in your book. Whether a task belongs to a specific client, a household, or no one in particular, you can create it, assign it, prioritize it, and mark it done without leaving Sherpa.
Getting there
Section titled “Getting there”In the main navigation, go to Clients, then click Activity and select Tasks.
What you can do
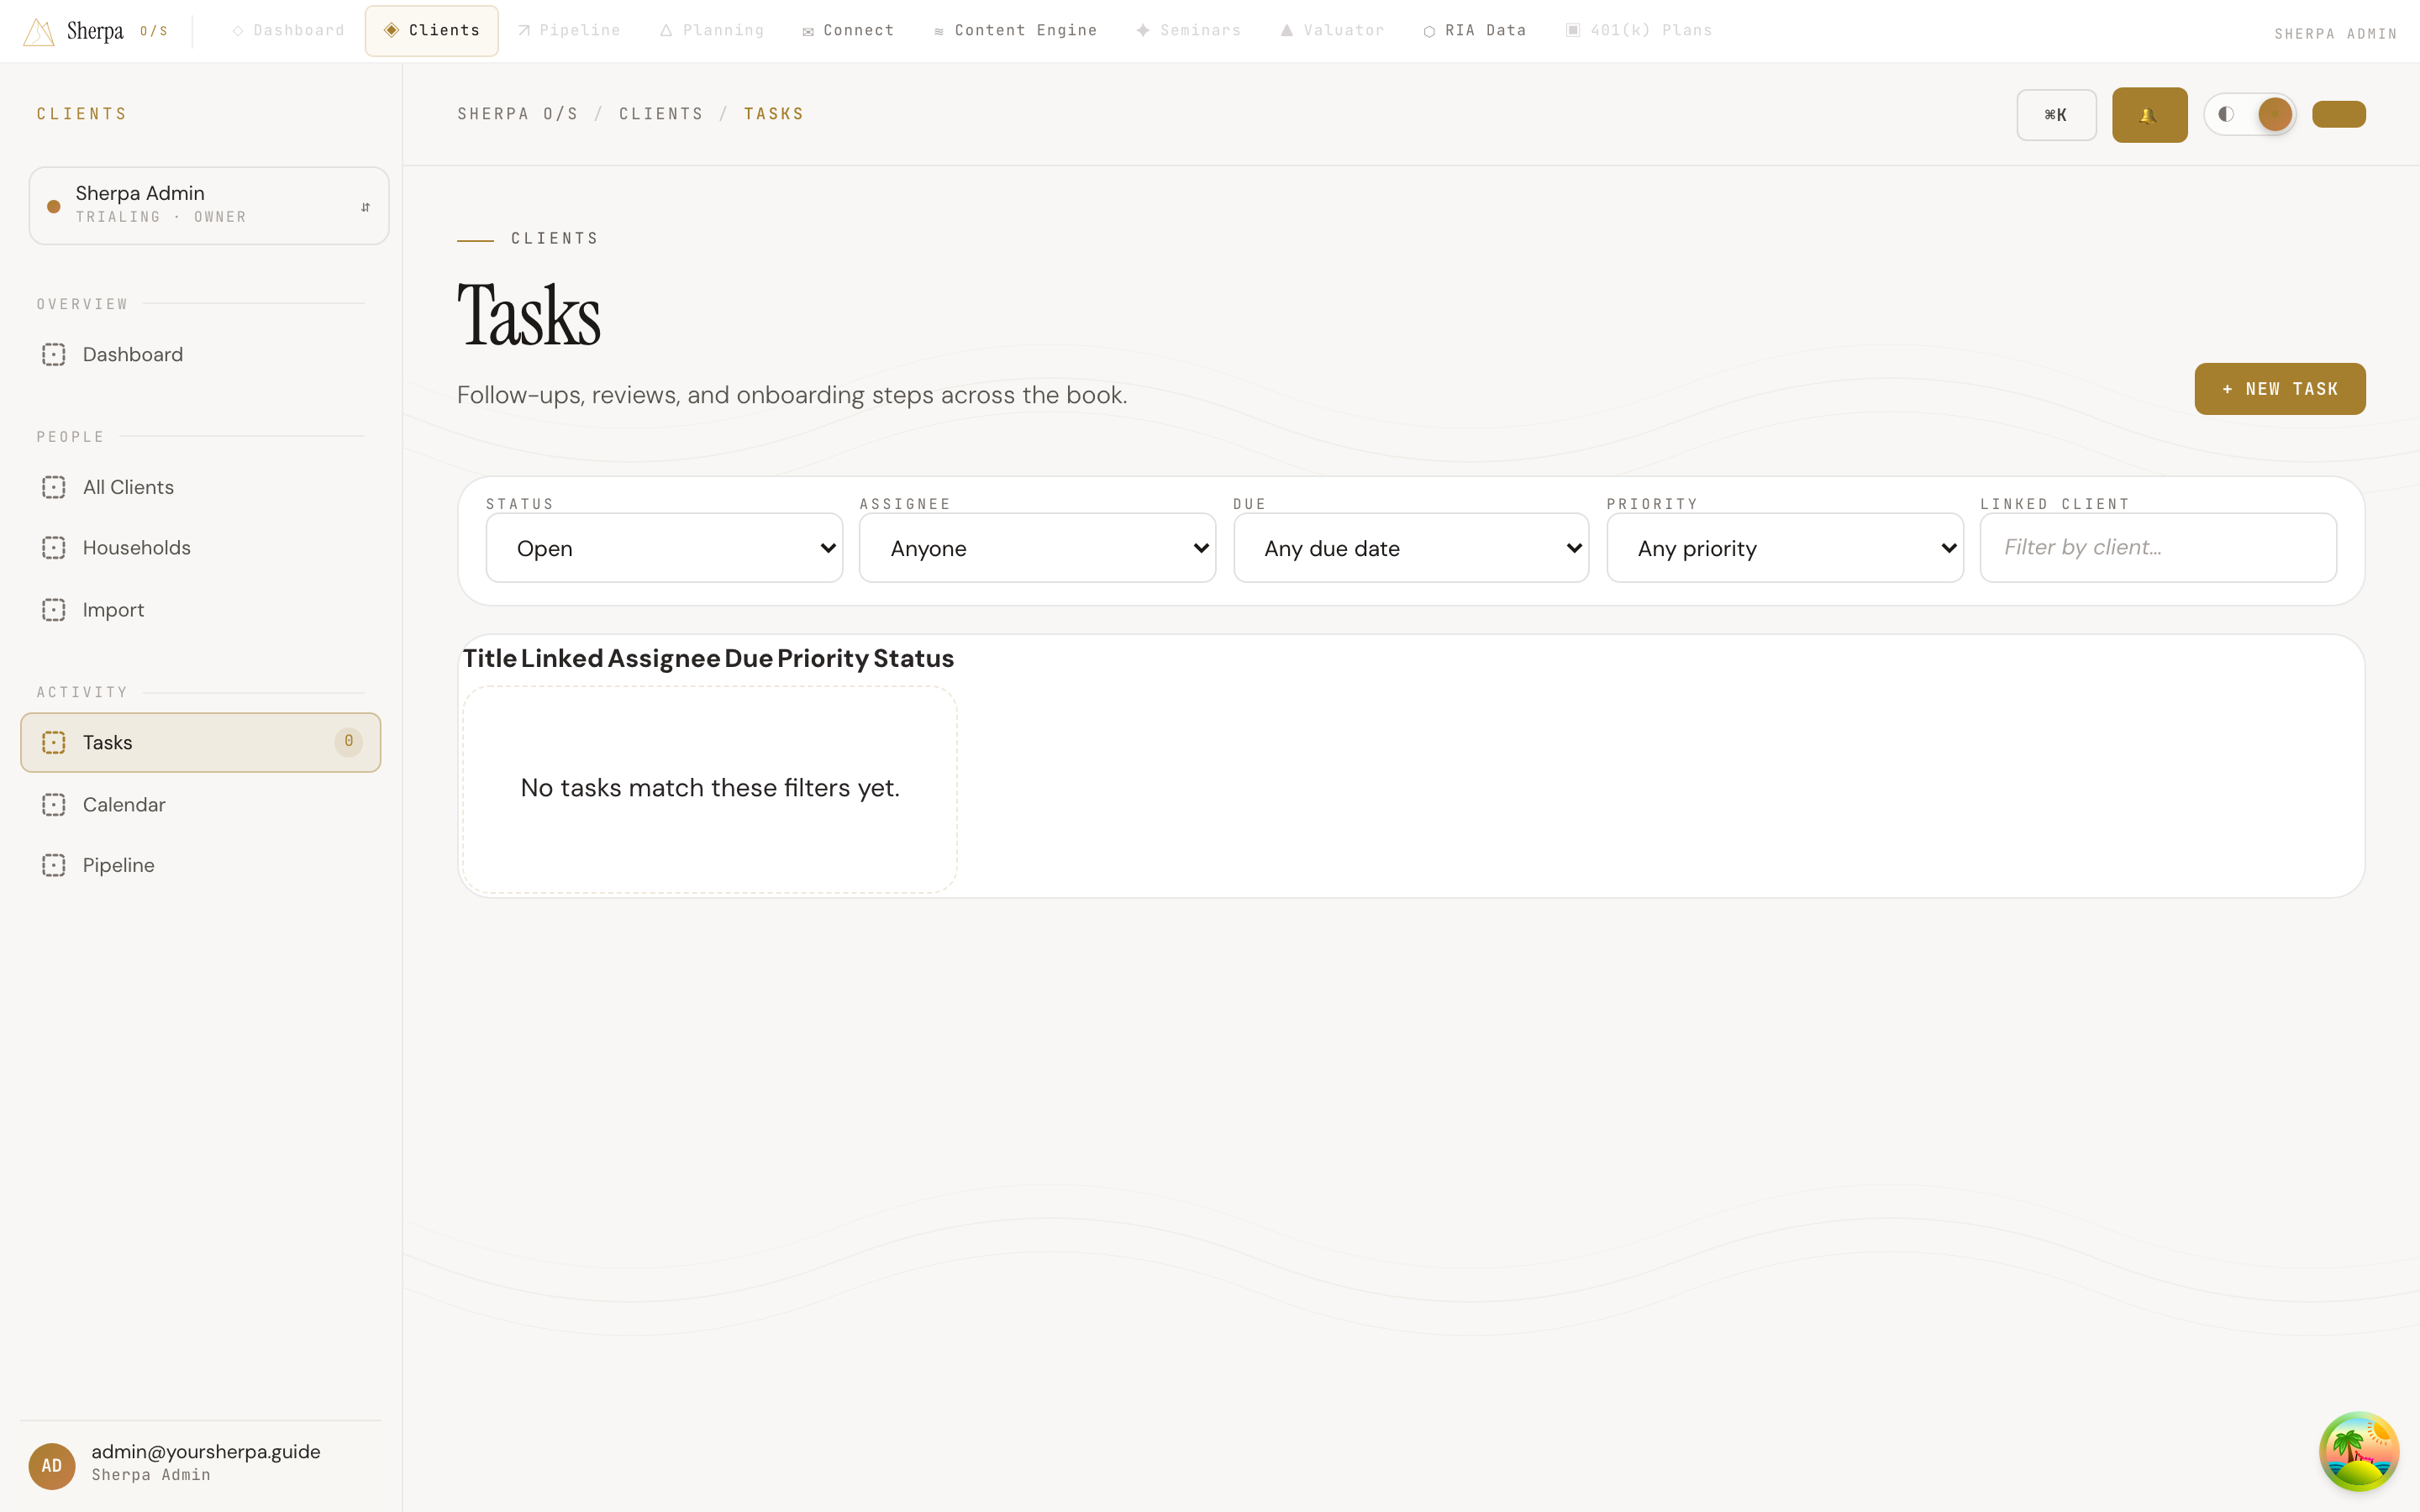
Section titled “What you can do”Filter the list
Section titled “Filter the list”A filter bar at the top of the page lets you narrow the list by any combination of:
- Status — Open, Completed, or All
- Assignee — Anyone on your team, or just yourself
- Due — Overdue, Due today, Due this week, or No due date
- Priority — Low, Normal, High, or Urgent
- Linked client — Search by name to see only tasks tied to a specific contact
The table shows Title, Linked client or household, Assignee, Due date, Priority, and Status. Due dates that have already passed appear in a red “Overdue” badge; tasks due today show an amber “Today” badge.
Create a task
Section titled “Create a task”- Click + New task in the top-right corner.
- Enter a Title (required) and an optional Description.
- Choose a Priority (Low, Normal, High, or Urgent) and an optional Due date and time.
- Select an Assignee from your team. Leaving this blank assigns the task to you.
- Optionally link the task to a client by searching under Linked client.
- Click Create task.
The new task appears in the list immediately.
Complete or reopen a task
Section titled “Complete or reopen a task”- To close out a task, click Complete on any open row.
- If you need to revisit something already marked done, click Reopen on the completed row.
Load more tasks
Section titled “Load more tasks”If your list is long, a Load more button appears at the bottom of the table. Click it to page in additional results without leaving the screen.