All Clients
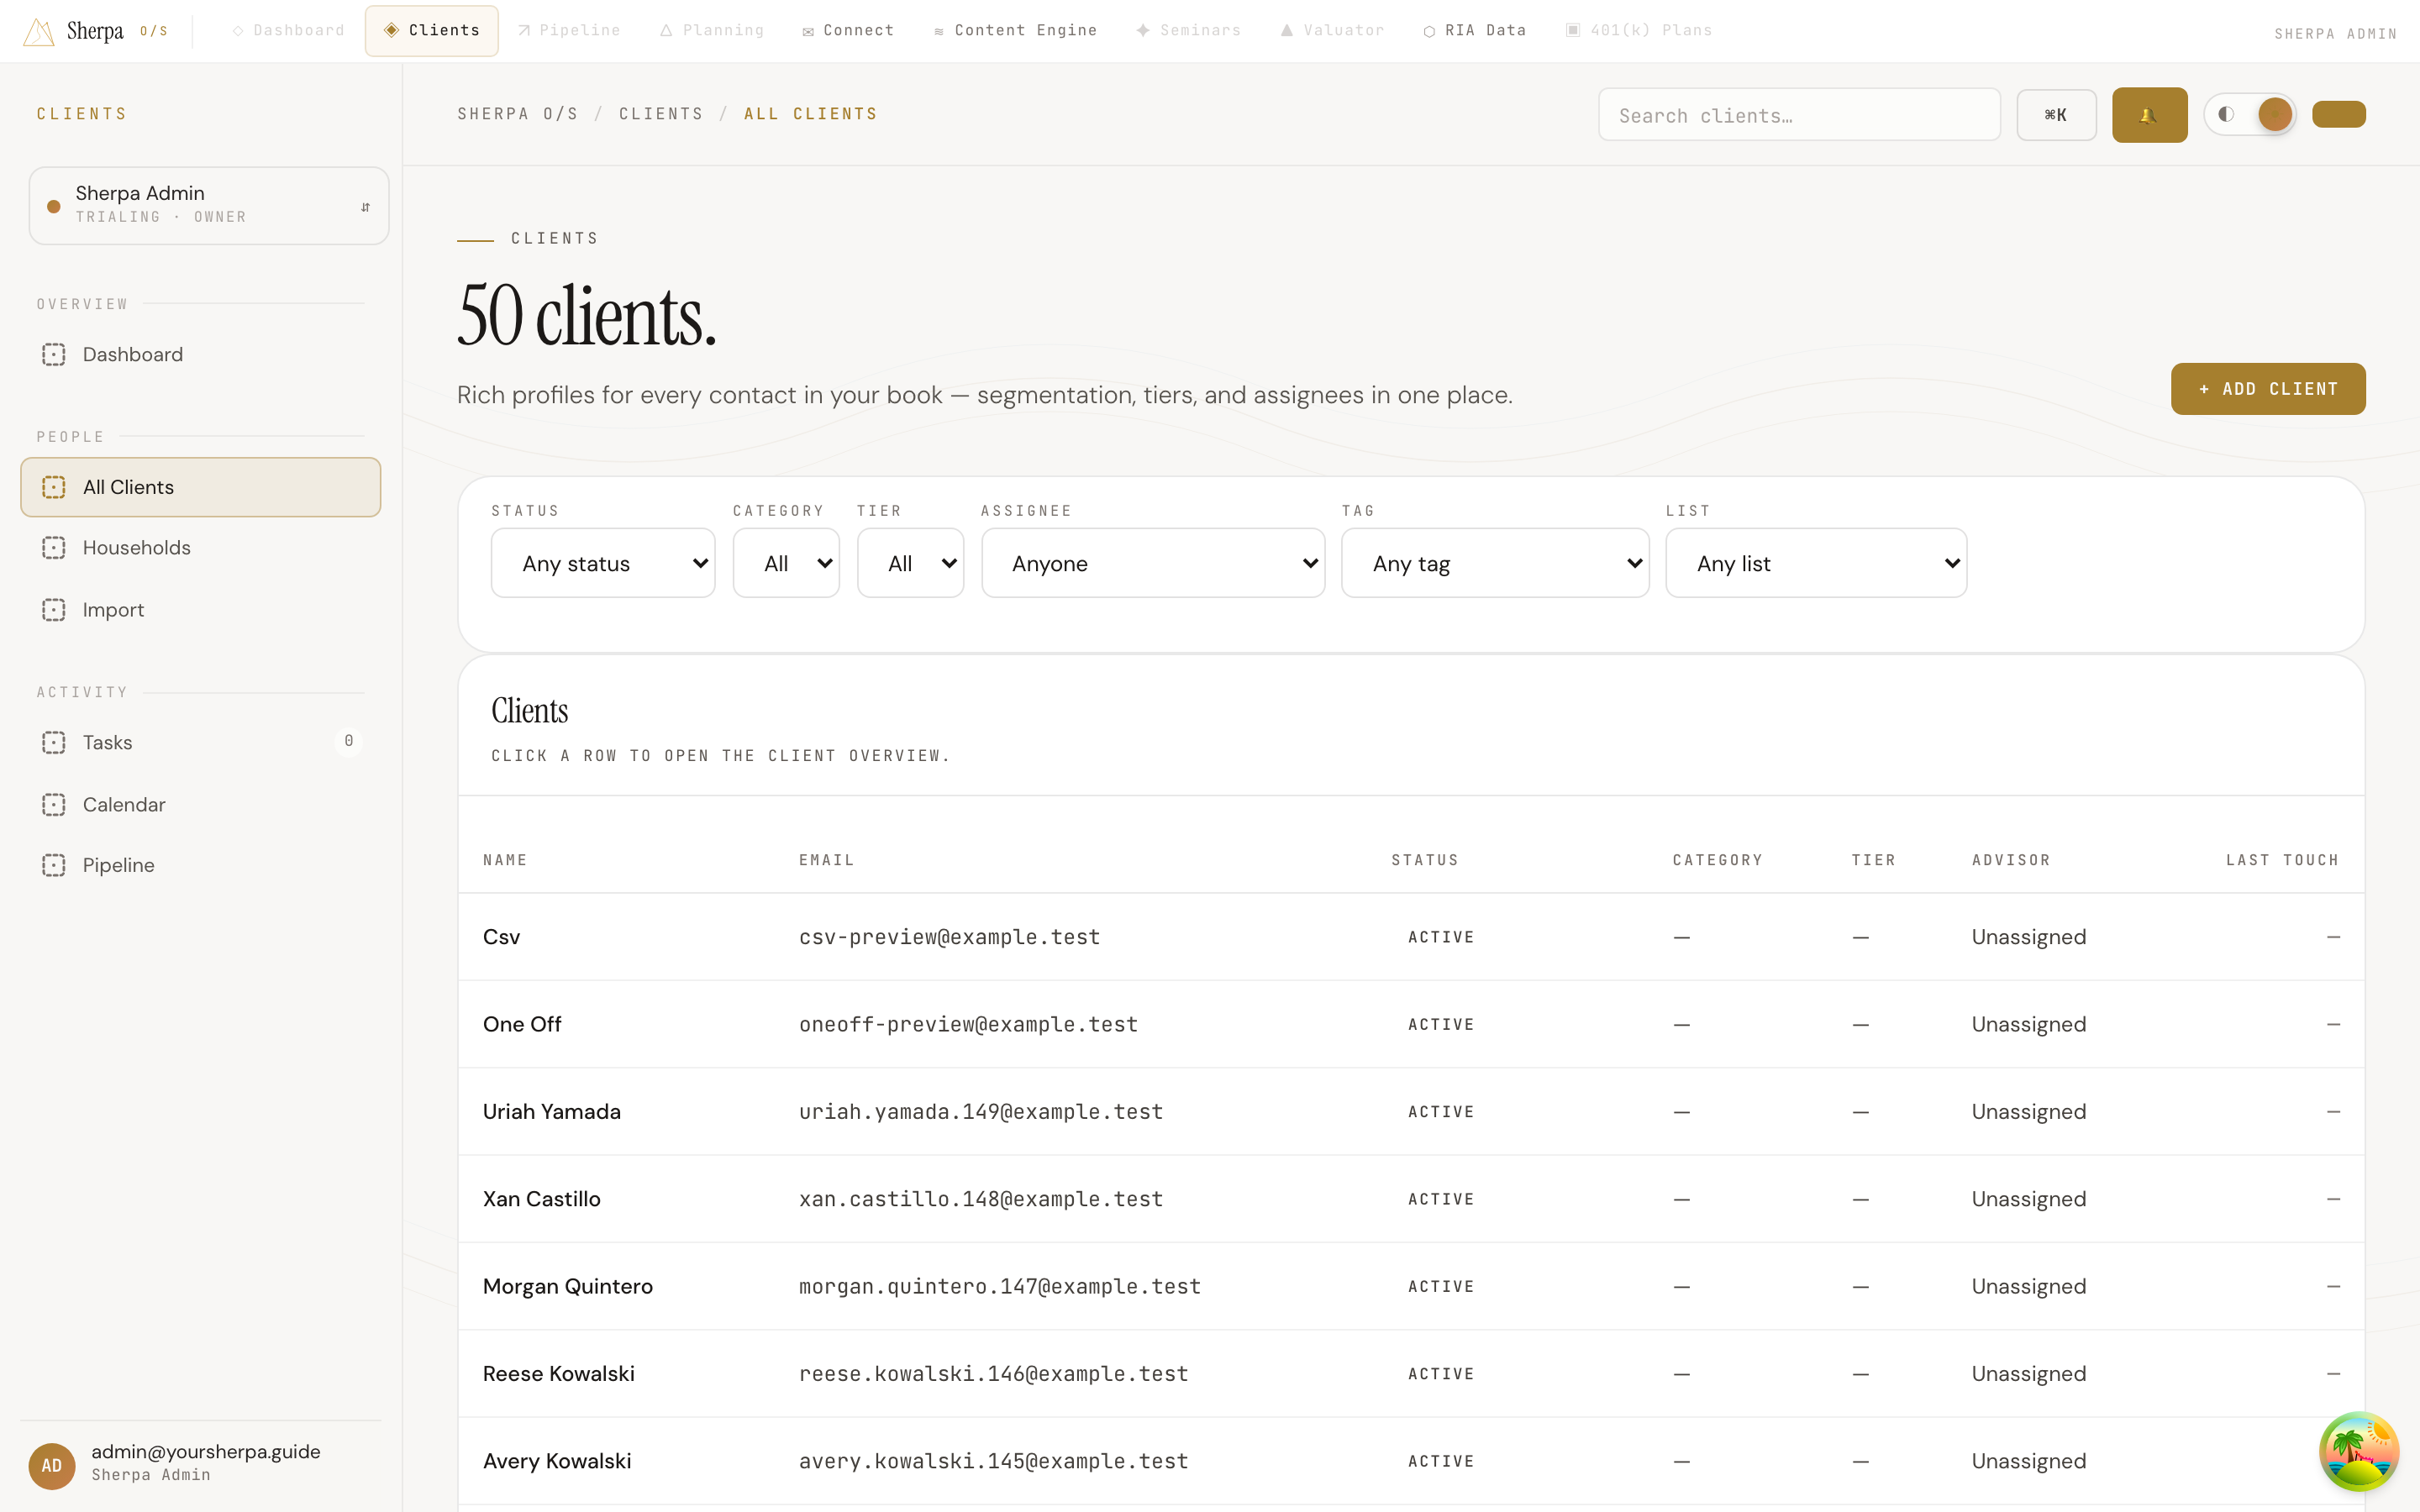
The All Clients screen is your firm’s complete contact roster — every client, prospect, and center of influence in one paginated table, with filters so you can zero in on exactly who you need.
Getting there
Section titled “Getting there”In the left navigation, go to Clients → People → All Clients.
What you can do
Section titled “What you can do”Search
Section titled “Search”Use the search bar at the top of the app to filter the list by name or email as you type. Results update automatically without requiring you to press Enter.
Filter the list
Section titled “Filter the list”A row of dropdowns sits above the table. You can combine any number of filters at once:
- Status — limit to Active, Unsubscribed, Bounced, or Complained contacts.
- Category — show only Clients, Prospects, Centers of Influence, Vendors, or Other.
- Tier — narrow by service tier (Platinum, Gold, Silver, A, B, C).
- Assignee — see only contacts assigned to a specific advisor on your team.
- Tag — filter by any tag applied to contacts.
- List — show only members of a particular email list.
Clearing a dropdown back to its default (“Any status,” “All,” etc.) removes that filter.
Read the table
Section titled “Read the table”Each row shows: Name, Email, Status, Category, Tier, Advisor, and Last touch (the date of the most recent interaction). If a field has no value it displays a dash.
Click any row — or the client’s name link — to open their full profile.
When your list is long, a Load more button appears at the bottom of the table. Click it to fetch the next page of results.
Upcoming important dates
Section titled “Upcoming important dates”A ribbon near the top of the page surfaces client birthdays, anniversaries, scheduled reviews, and other important dates falling within the next seven days. Each entry links directly to the relevant client profile. If the ribbon is in the way, click Hide to collapse it to a summary count; click Show to expand it again. The ribbon does not appear on days when no upcoming dates are found.
Add a new client
Section titled “Add a new client”If your account has CRM write access, an + Add Client button appears in the top-right corner.
- Click + Add Client.
- Enter the contact’s Email (required), plus optional First name and Last name.
- Choose a Category (defaults to Prospect) and optionally a Tier.
- Assign the contact to an Advisor on your team, or leave it unassigned.
- Click Create client.
After the contact is created you are taken directly to their profile.