Segments
Segments let you carve your contact list into focused audiences using rule-based filters that stay current without any manual upkeep. Use them to target campaigns, trigger automations, or exclude groups you don’t want to reach.
Getting there
Section titled “Getting there”In Connect, open the Audience menu and select Segments.
What you can do
Section titled “What you can do”View your segments
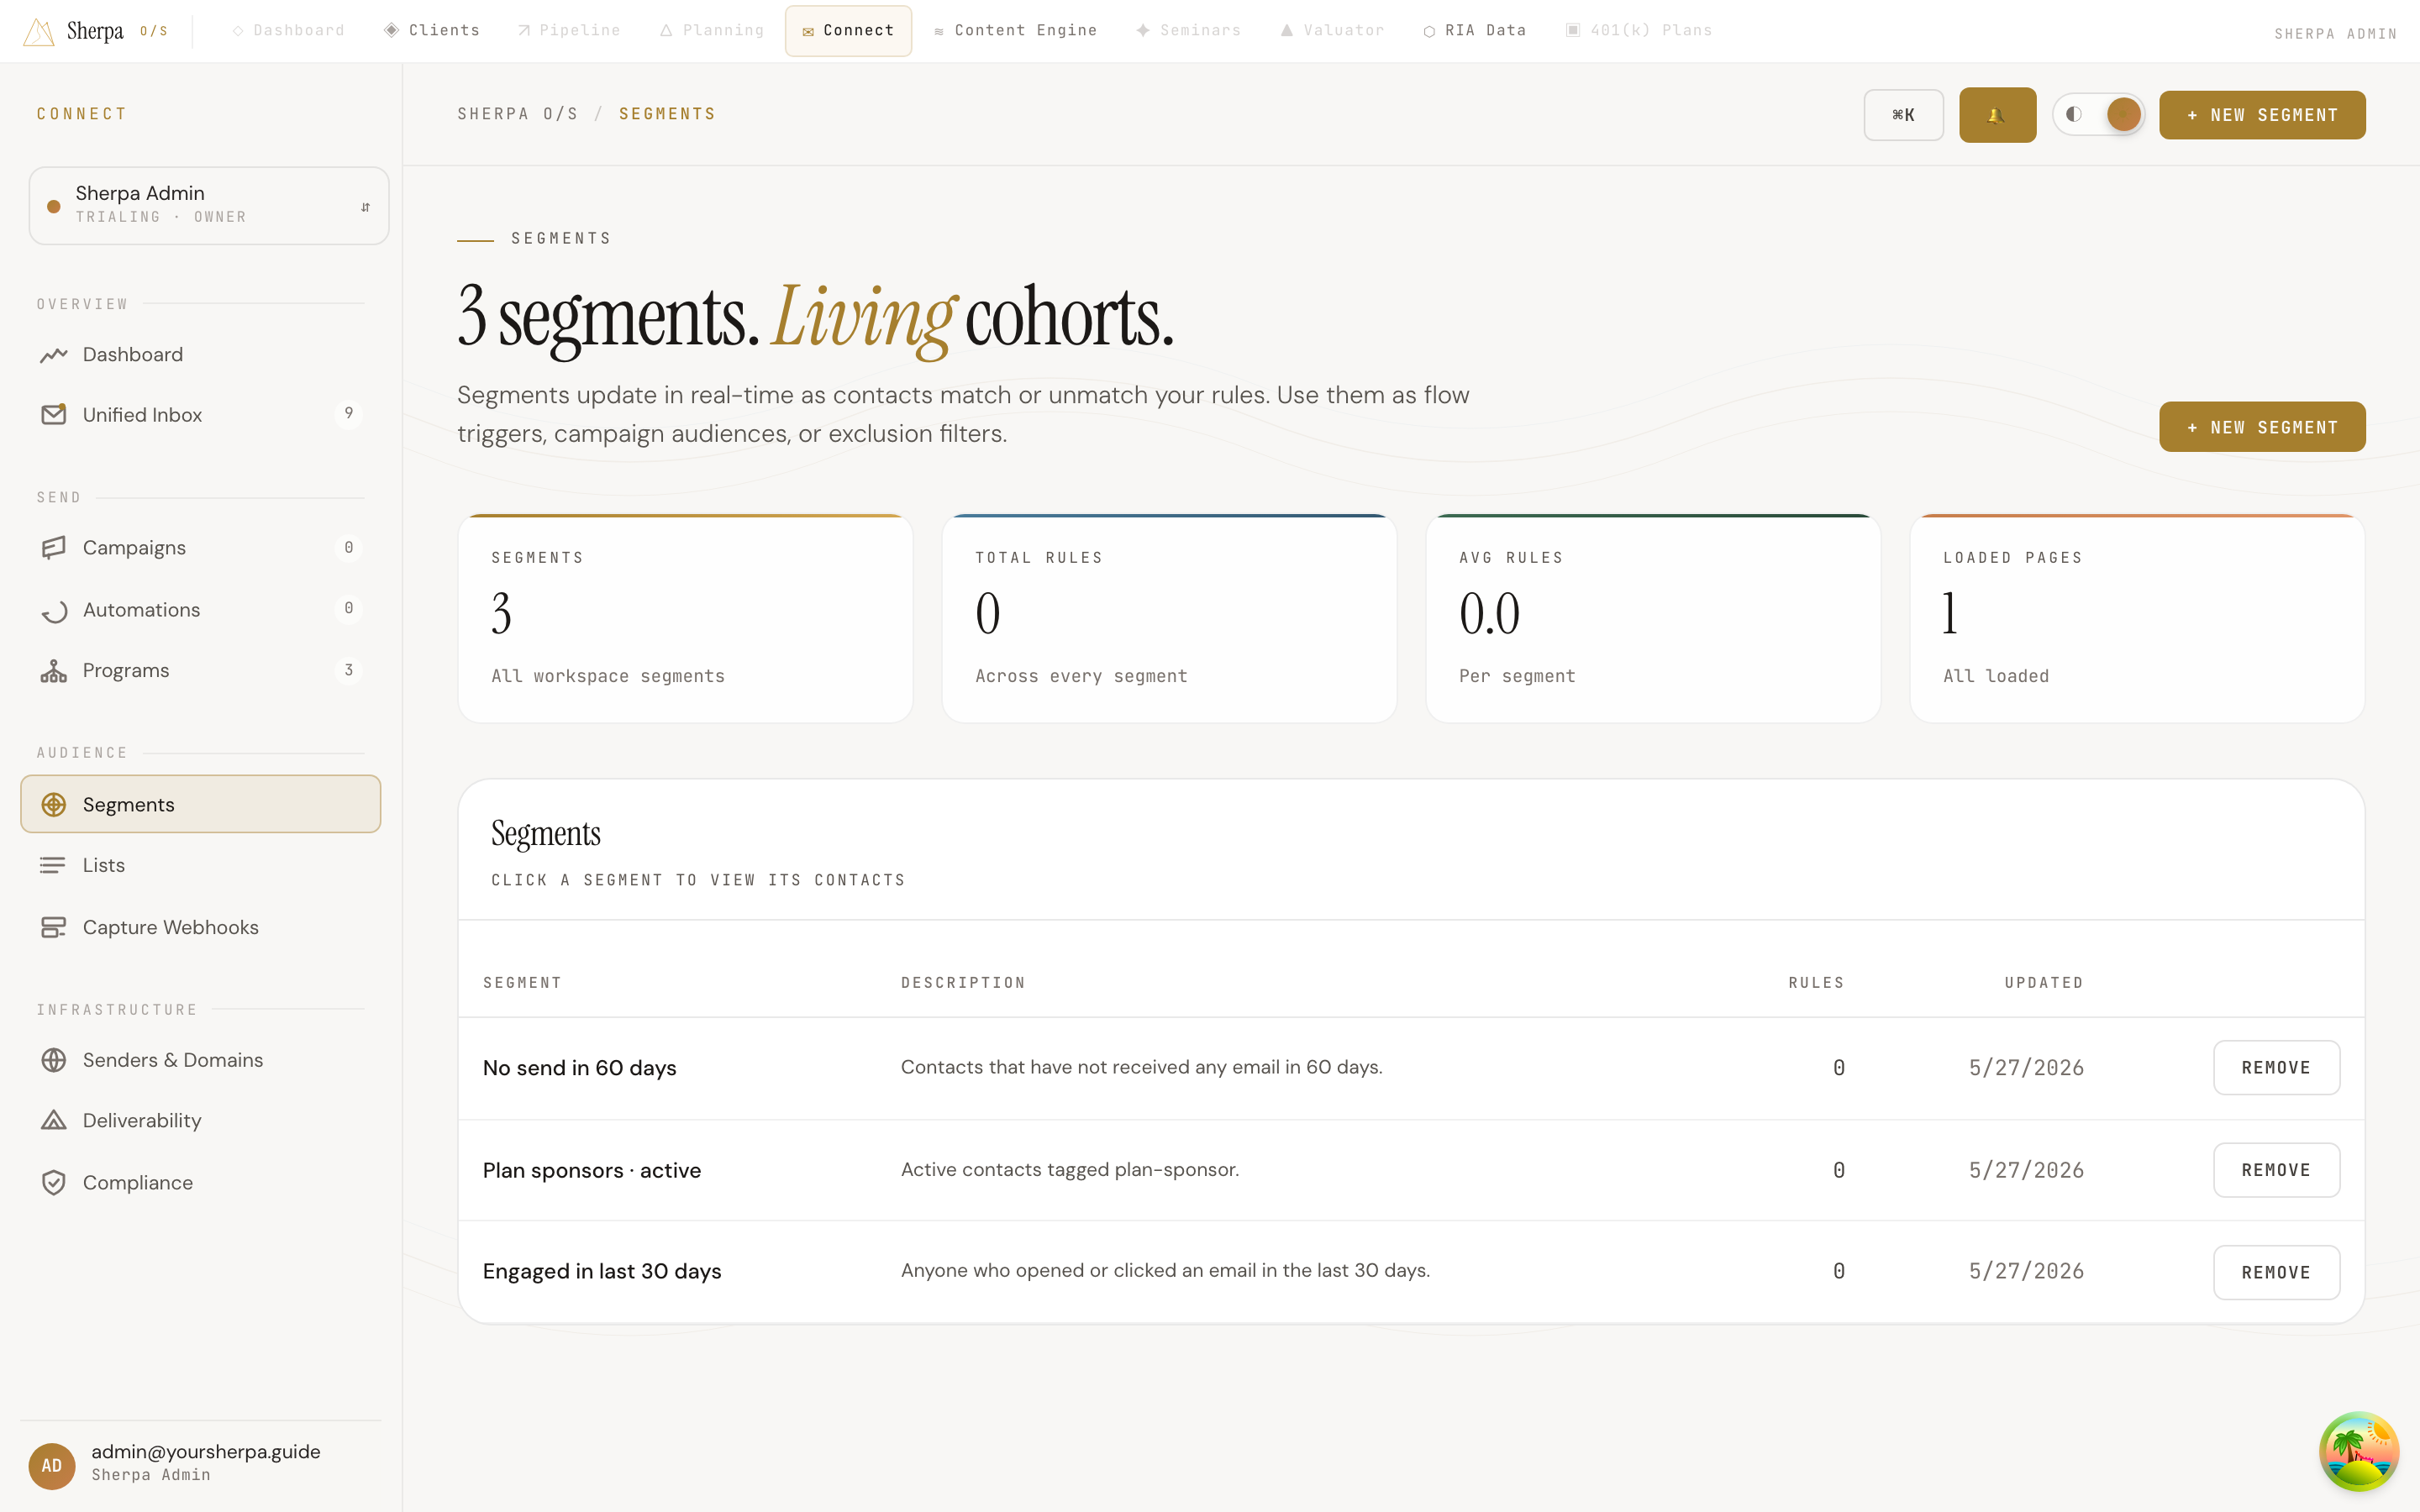
Section titled “View your segments”The page opens to a table listing every segment in your workspace. Each row shows the segment name, an optional description, the number of rules applied, and the date the segment was last updated. Click any row to open a side panel showing the full list of rules and the contacts currently matched by that segment. If a segment has no matches yet, the panel displays “No contacts match this segment yet.” Use Load more at the bottom of the contacts list to page through larger audiences.
At the top of the page, summary stats show the total number of segments, the total rule count across all segments, and the average number of rules per segment.
Create a segment
Section titled “Create a segment”- Click + New segment in the top-right corner. (This button is only visible if your account has the
segments:writepermission.) - Enter a Segment name — this field is required. A description is optional but helps teammates understand the segment’s purpose at a glance.
- Add at least one rule. Each rule is a combination of:
- Field — Email, First name, or Last name.
- Operator — equals, not equals, contains, starts with, greater than, less than, or in.
- Value — the text to match against.
- Click + Add rule to stack additional conditions. Rules with an empty value field are ignored when the segment is saved.
- Click Create segment to save. The new segment appears in the table immediately.
Remove a segment
Section titled “Remove a segment”In the row for the segment you want to delete, click Remove. A confirmation prompt asks you to confirm before the segment is deleted. This button is only visible if your account has the segments:delete permission.